


Ingredients
-
160ml Milkbest use full-fat milk
-
90ml oilcan use olive oil or replace with 150g of melted butter
-
360g Tapioca flour
-
1 cup Parmesan cheesecan be replace with Gauda
-
1/2 cup Mozzarella cheesecan be replace with any other soft goat chese
-
2 Eggs
-
1 tsp Salt
Directions

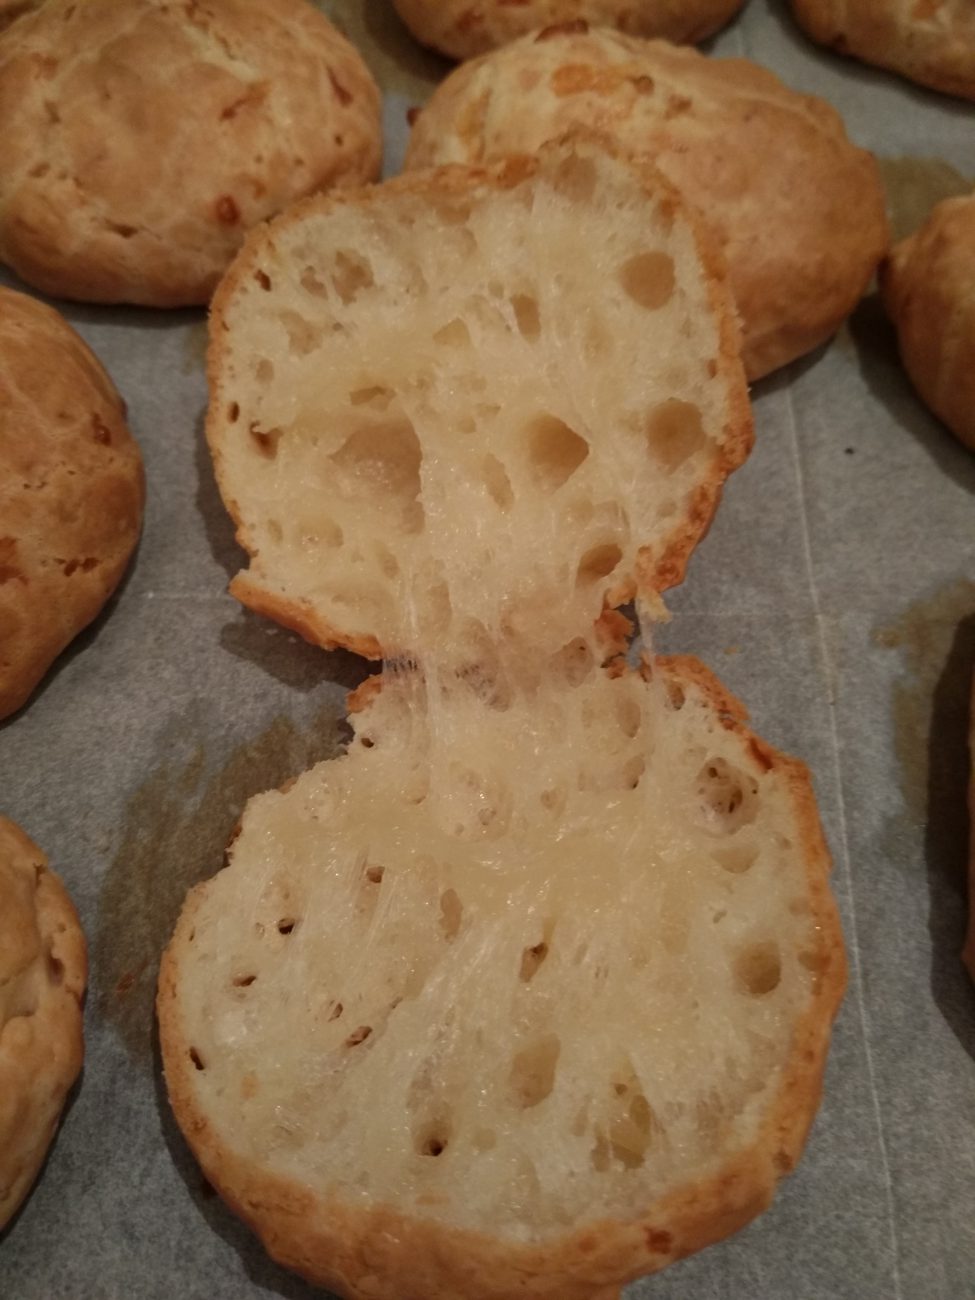
If you didn’t try Pão de Queijo, the Brazilian cheese bread, you should, they are amazing.
I had my first Pão de Queijo in Belo Horizonte which is the capital of Minas Gerais, home of the best Pão de Queijo in Brazil.
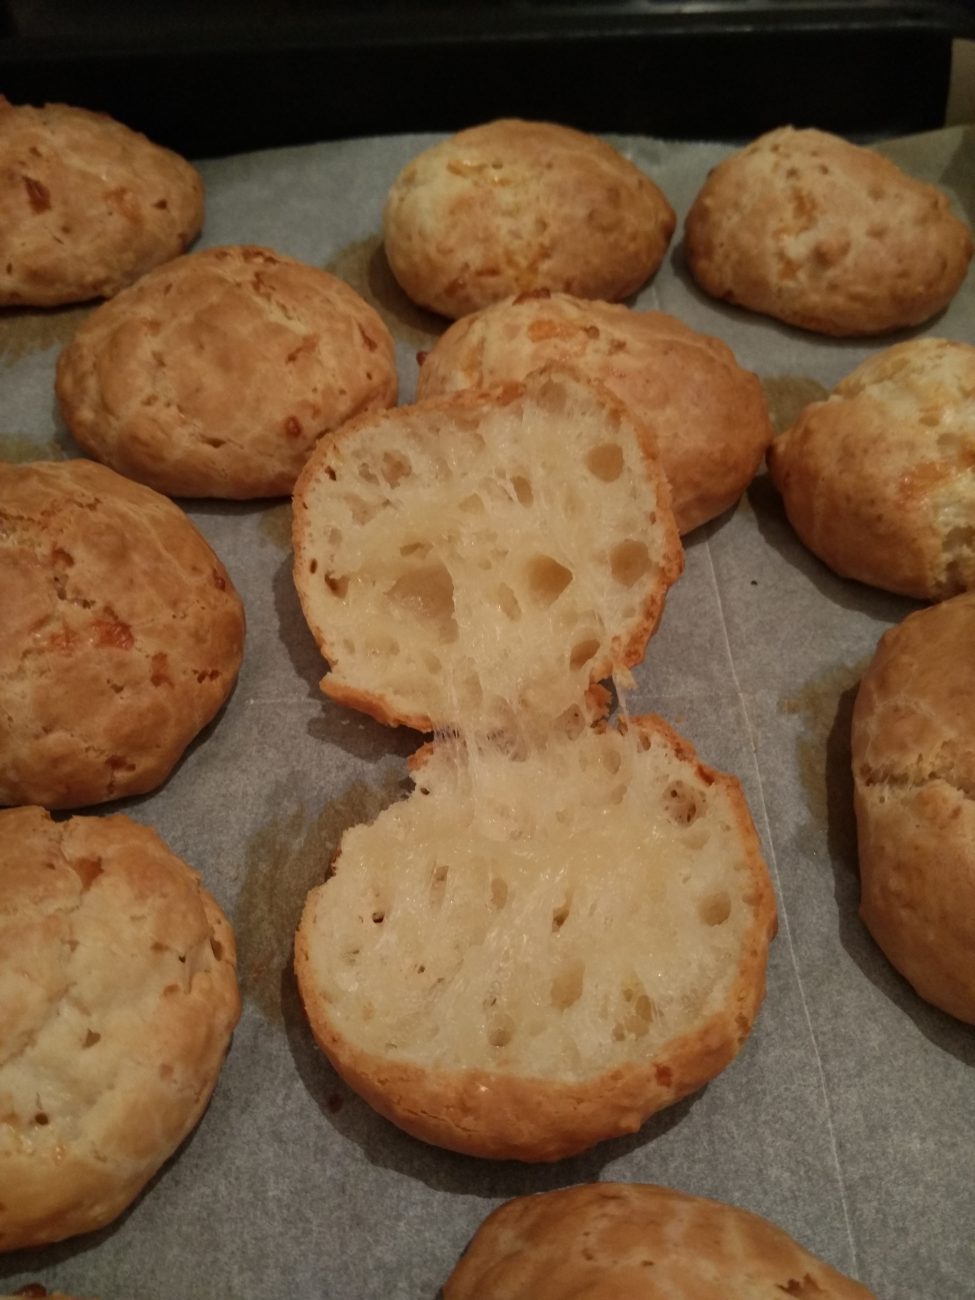
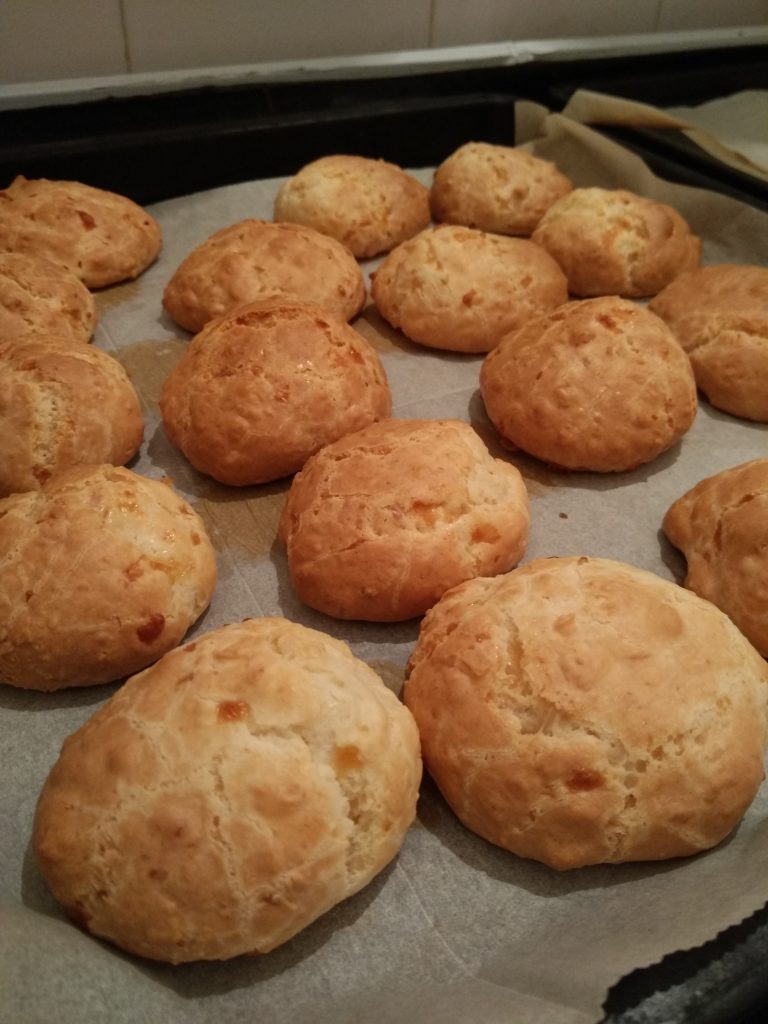
Ever since then I keep making these amazing crispy Gluten free cheese buns at any occasion, kids love it, it’s great for breakfast and you just can’t have enough of them.
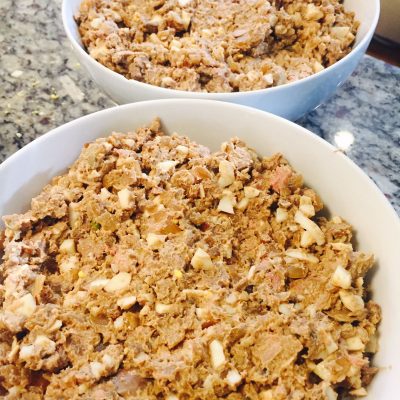
Pão de Queijo batter
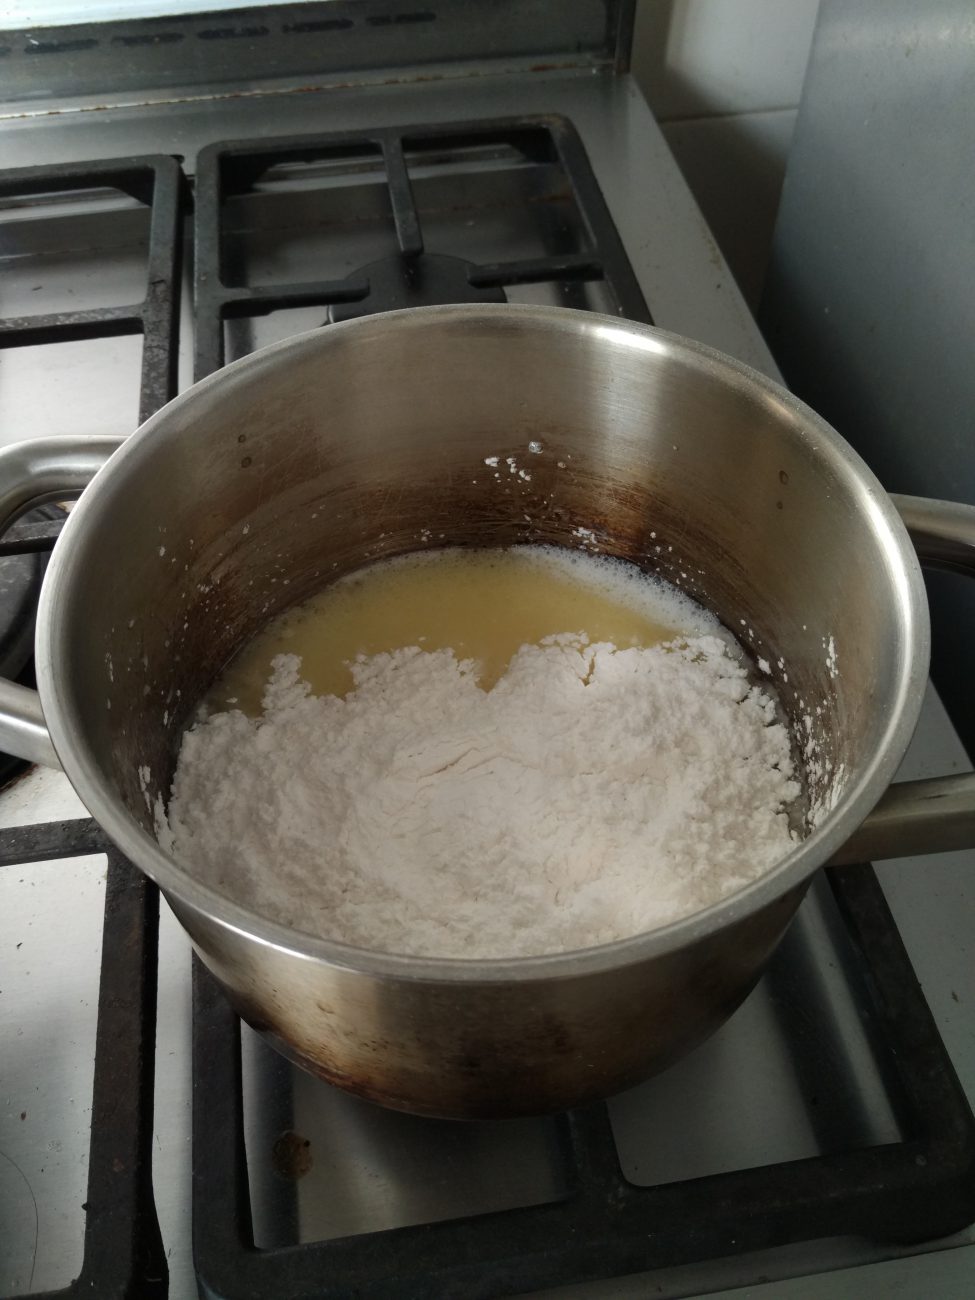
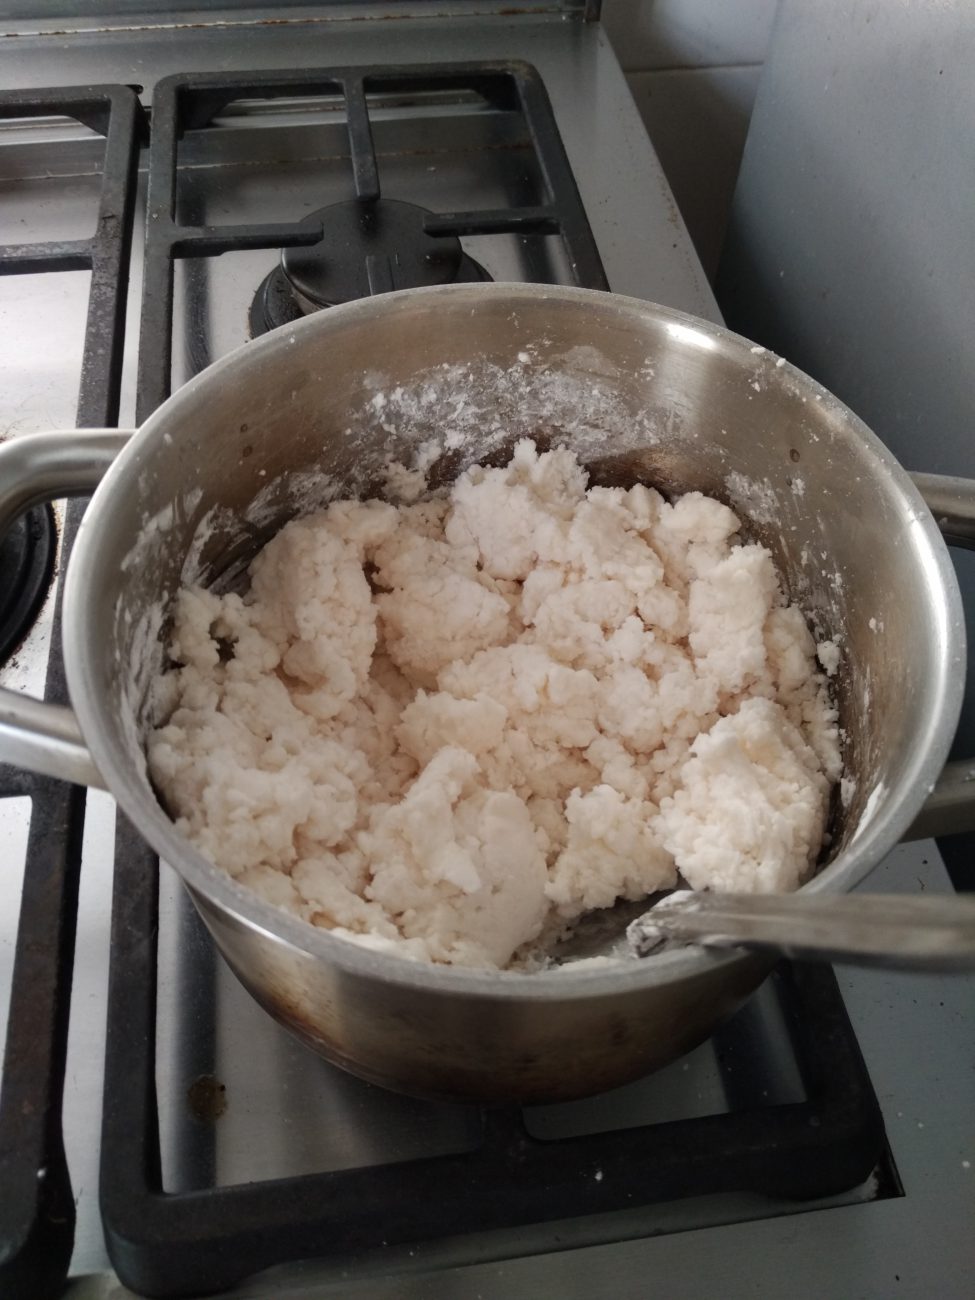
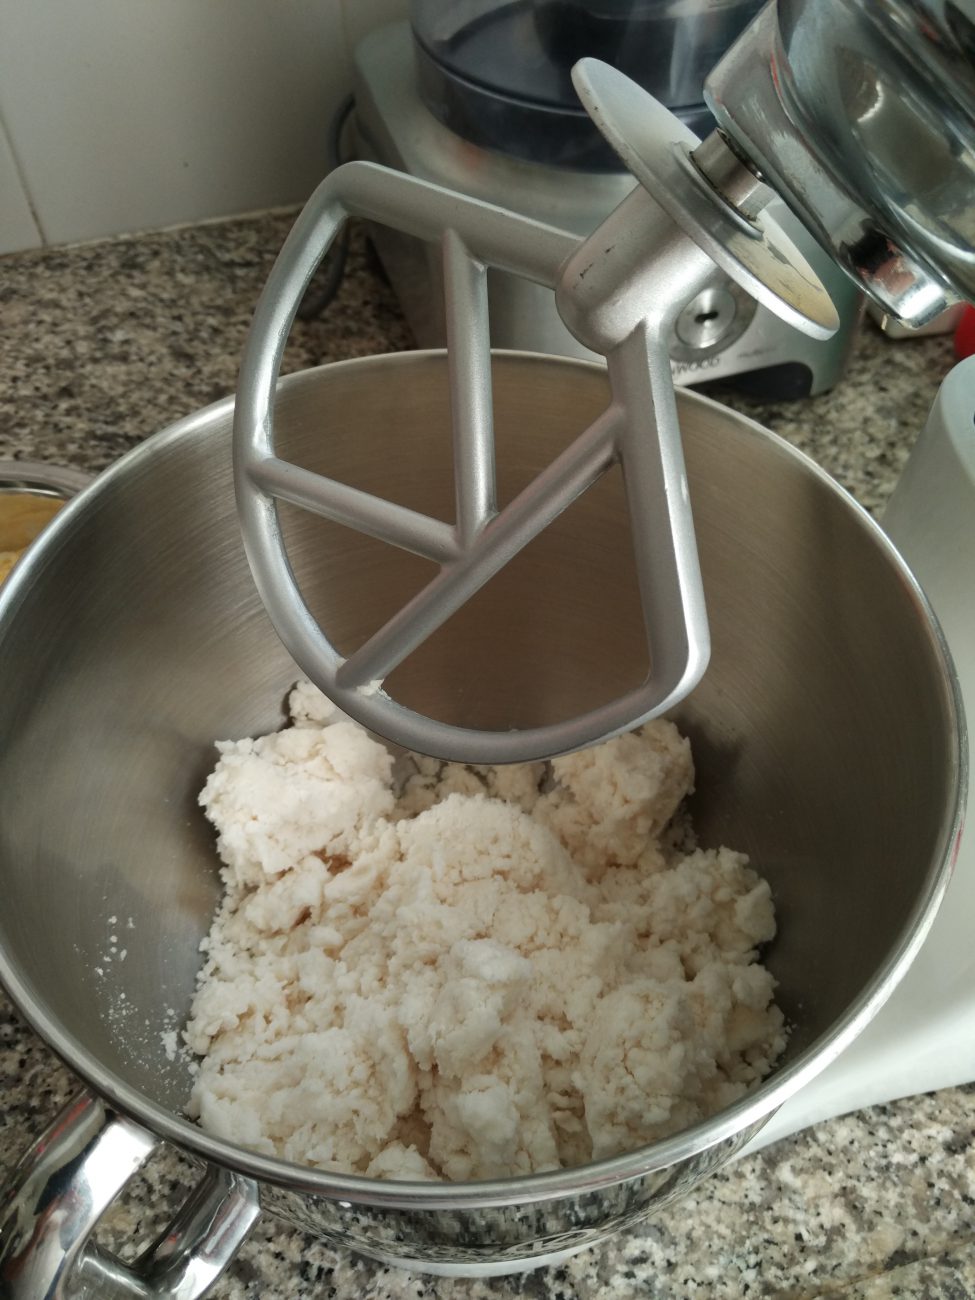
There is no wheat flour in Pão de Queijo, the main ingredient is Tapioca flour.
Tapioca is a strange kind of flour, when mixed with the warm milk and oil, the texture becomes very sticky, resemble a bubblegum flexibility.
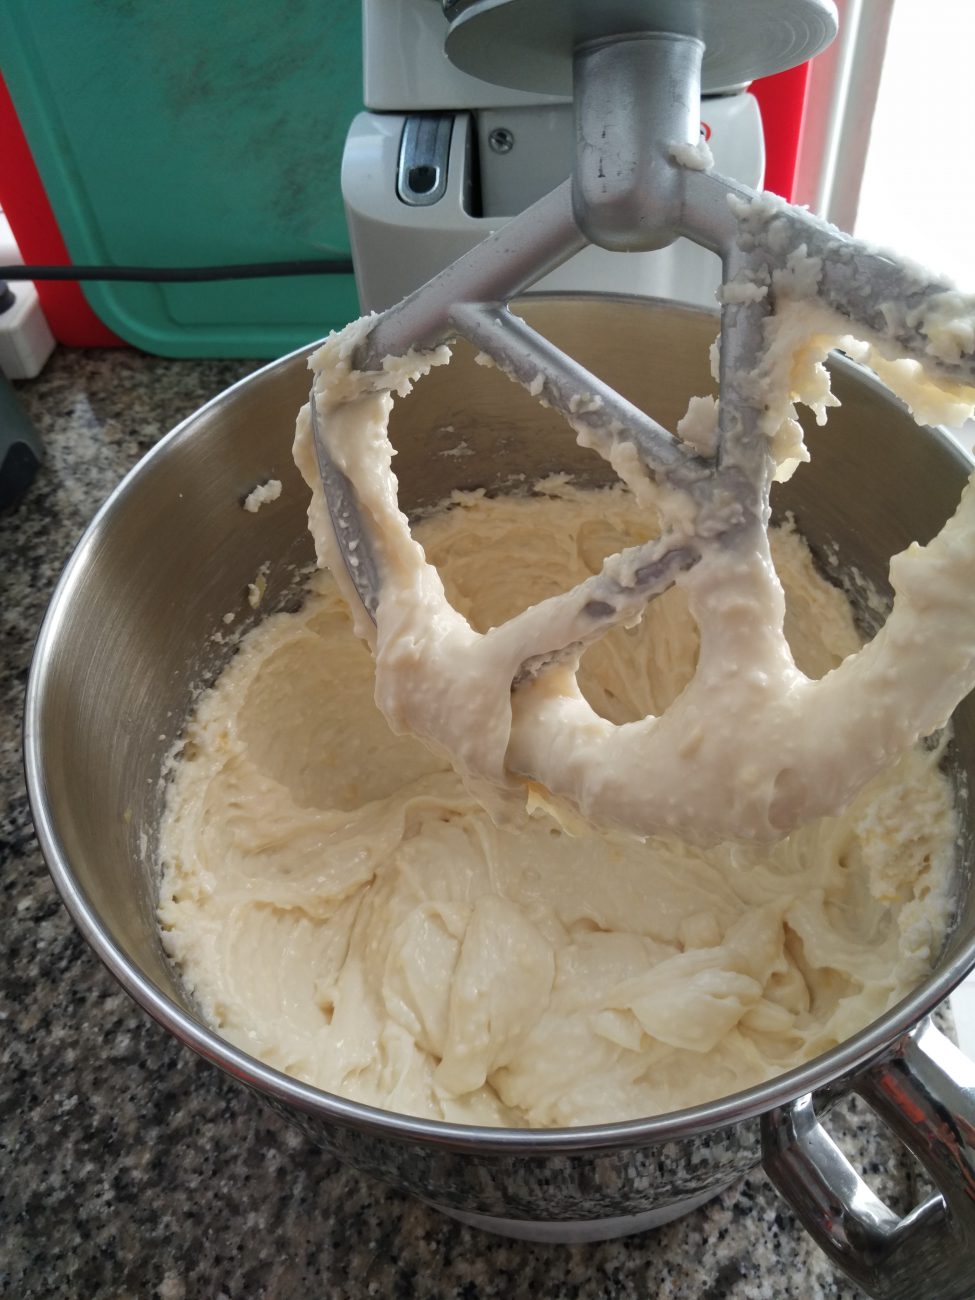
I highly recommend working with a stand mixer unless you want to get a good workout, this dough is highly strong and when we are adding the eggs we need them to be fully incorporated.
The work process reminds me a bit of the French Pâte à Choux dough.
The process is the same, we heat up wet ingredients and mix it with the dry ones, mixing constantly while adding the eggs into the batter in order to create the desired texture.

Say cheese
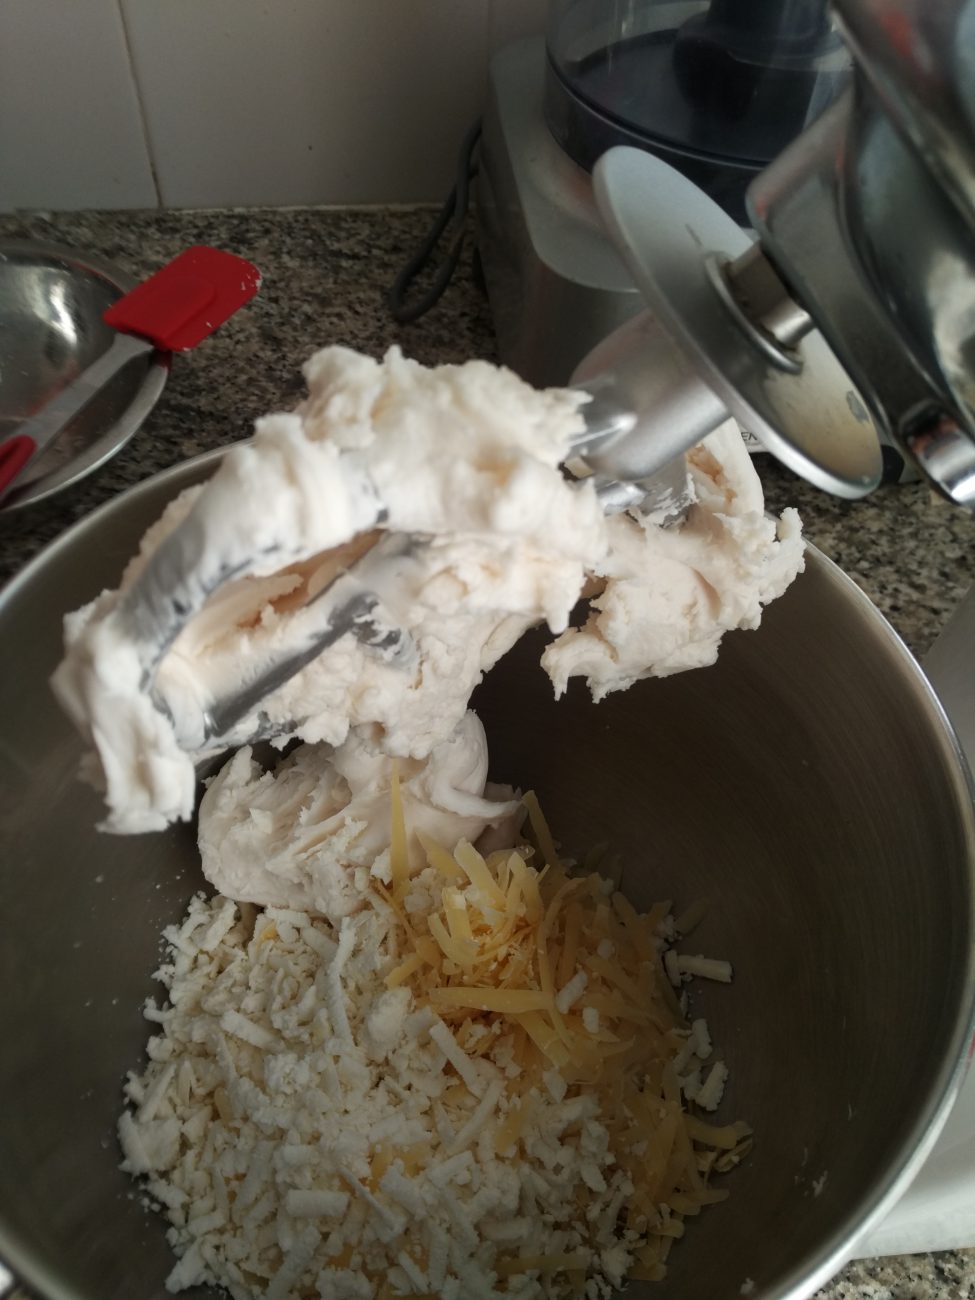
The original recipe of Pão de Queijo deems for “Queijo Minas Curado” which is a soft cheese from Minas Gerais.
For those of us not living in Minas Gerais, there are other options, every semi-firm cheese will do, the Monterey jack cheese, kashkaval cheese or even cheddar cheese are great.
It is popular to use also mozzarella cheese (great texture) and parmesan cheese for the strong cheesy flavor.
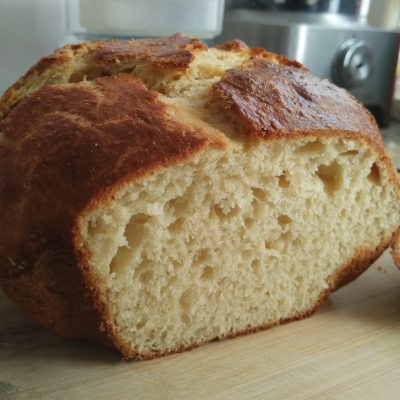
Baking Pão de Queijo
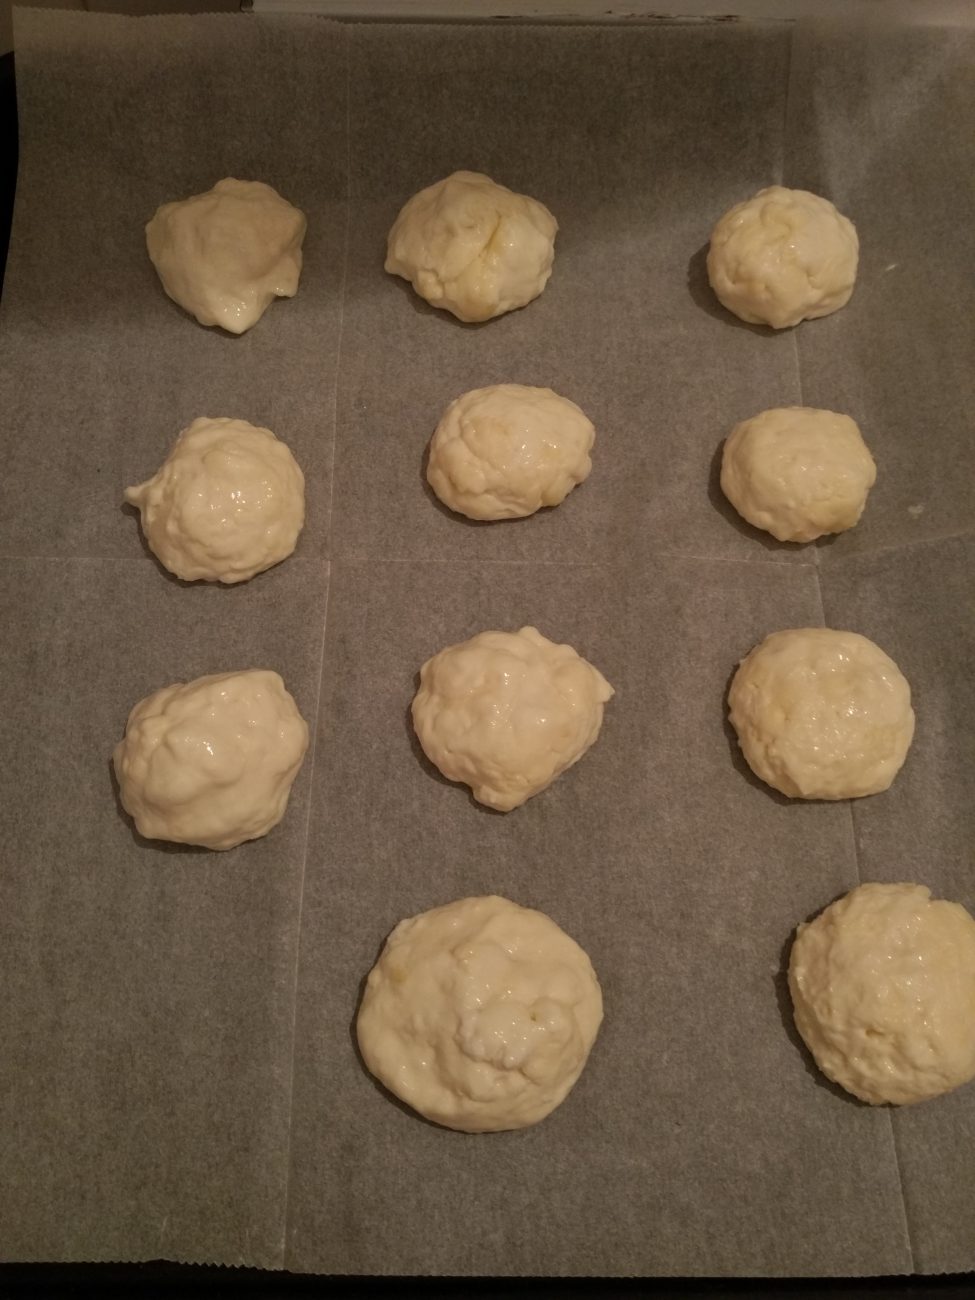
Baking is done on 180°c/360°F for about 30 minutes. the little balls will puff in the oven so keep them a few inches apart.
They don’t have to be golden brown, a pale white is the traditional color, however I like them crispy golden brown color, but it’s a matter of taste.
If the dough is a bit runny when you try to set them on the baking pan, you can refrigerate the batter for about 20 minutes, this will stabilize the dough and you will be able to make perfect balls.
Steps
|
1
Done
|
Boil the Milk and OilCombine the milk, oil, and salt in a saucepan, Whisk Occasionally bring it to a gentle boil over medium heat. |
|
2
Done
5 minutes
|
Mixing the DoughTransfer the dough to the bowl of a standing mixer fitted with a paddle attachment. |
|
3
Done
30 minutes
|
Baking the PuffsPreheat the oven to 180°c/360°F . |


One Comment Hide Comments
Mix milk, salt, vegetable oil, and butter in a pot, and bring to a boil. As soon as it boils, remove from heat.