Ingredients
-
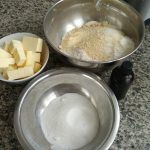
290g/ 10 oz Butter
-
150g/ 1½ cups granulated sugarits possible to use confectioner's sugar
-
70g/ ½cup Ground blanched almonds
-
½ tsp Salt
-
½ tsp Vanilla extract
-
2 large Eggs
-
490g/ 3½ cups all purpose flour
Directions
Sweet tart dough is one of the French essential crusts to learn when making sweet tart pastry.
Basically it’s a cookie dough combined together to create the base for a great filling.
My recommendation is never to do a single batch of Sweet tart dough, prepare at least two portions, use one and freeze the other, they freeze very well and can be stored up to two months in the freezer.
In this recipe I will actually use a recipe for 3 pâte sucrée crusts as adapted from the Dorie Greenspan’s Paris sweets book, I find this to be the best recipe of all… I tried a lot.
The Butter
There are 2 options for the butter temperature, first is at room temperature and second is cold, similar as we use in the savory tart dough.
There are advantages for each of the methods, if using a room temperature butter the ingredients mix together quickly and thoroughly, assuring us there are no lumps of butter in the dough.
When using cold butter, you are making the dough crumbly and crispy, this will ensure that the dough will be powdery like a cookie dough and prevent gluten from forming because of the cold temperature of the butter.
I’m more inclined for the second approach, I like my pâte sucrée crispy on the verge of breaking apart and melting in your mouth.
Sweet tart dough – the sugar
So, is it Granulated sugar or confectioner’s sugar (sugar powder)? that is the question.
This conflict is similar to the room temperature butter so there is more than one answer. Making the dough with confectioners’ sugar will resolve in a subtler smooth dough and making it with granulated sugar will make the dough more crumbly, similar to a cookie dough texture.
Since I’ve laid over my approach in the butter issue I’ll stick to the crispy texture, I want my dough super crispy like a giant cookie.
The flour
A regular all-purpose flour is OK for the sweet tart dough, it will get you a great crusty dough.
The important thing to keep in mind is that we don’t want to use high gluten flour like bread flour, in fact the best flour to use is the cake flour which has the lowest gluten amount out of all flours.
The reason we want low gluten in our pastry is because gluten is flexible and we want just the opposite for our tarts, we want them not elastic, we want them crusty crunchy and breaking apart just like cookie crumble.
I am also using almond flour (ground blanched almonds), it adds depth of flavor and crunchiness to the tart base.
Eggs in sweet tart dough
With all these dry ingredients, we need something to hold the dough together and eggs are the best for this job.
I use about 2 eggs for 3 tart crusts, meaning I add the minimum amount of eggs to the dough keeping it as dry as possible.
There are different variations for the sweet tart dough like adding one full egg and 2 egg yolks or 1 egg and some heavy cream.
I’ve tried it all… in my opinion keeping it simple will resolve in the best tart dough.
Kneading the sweet tart dough
When it comes to kneading the dough, we want to minimize our actions and knead as little as possible.
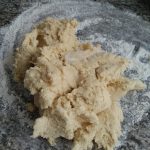
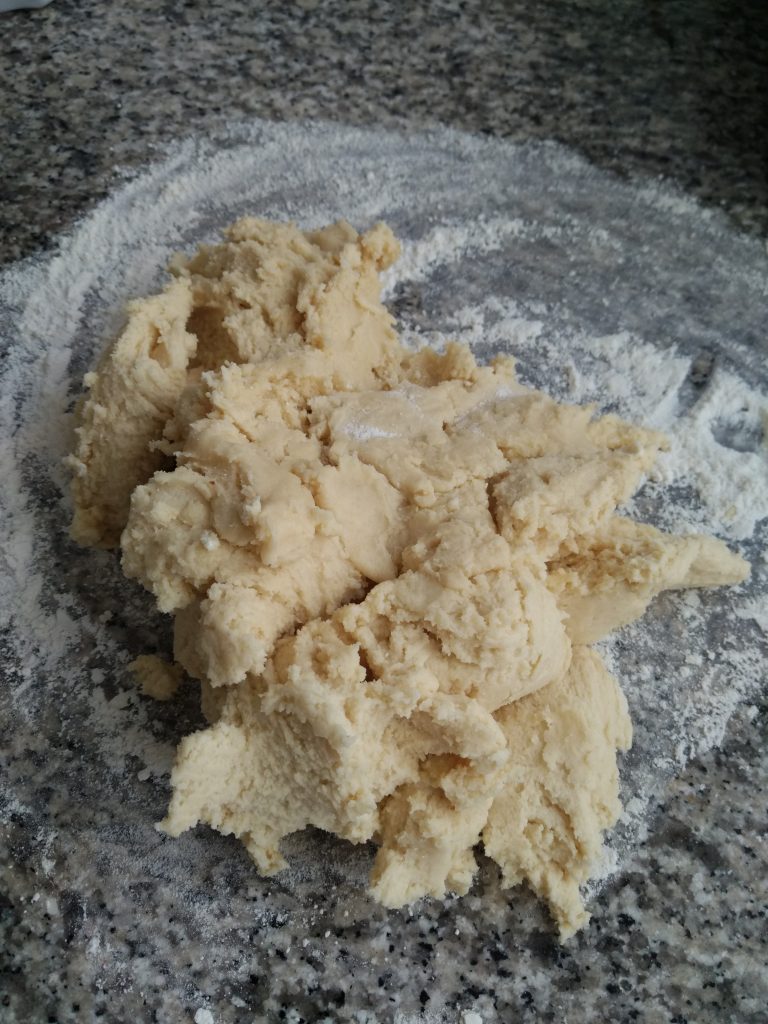
Starting from the stage we process all the ingredients in the food processor (or stand mixer), the minute the dough is crumbly and forming into a ball shape we stop the process, take the dough out onto a working surface and work it out with our hands for a few seconds just forming it into one ball, no more than that.
Again this is because I don’t want to wake up the gluten ties in the dough, I want the pâte sucrée to stay at its lowest gluten values.
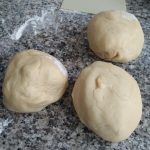
At this stage we form an elliptic shape and divide the dough into 3 different tart crusts.
Storing the dough
After we separate the dough into equal portions I flatten it into a disk shape and put into the fridge for later use or in the freezer for storage.
Rolling the dough is not easy, after I refrigerate the dough, rolling it will be a hard task, so, in order to make it a bit easier and avoid the dough breaking apart I make a small disk shape out of the dough before refrigerating it, so the amount of flattening will be smaller and there will be less tampering with the dough.
the rest in the fridge is absolutely essential for the butter to stabilize, plus working with the dough is a difficult job, it’s sticky and tearing apart so we need to work with it cold.
Rolling and shaping the dough
One of the key elements of working with this sticky buttery dough is speed.
From the time the dough is coming out of the fridge to the time it’s in the tart pan can’t take more than a few minutes, we need the dough cold, this is the only way we will able to control it.
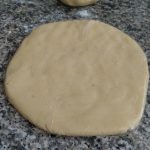
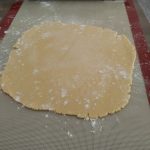
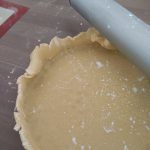
So, prepare all you need prior to getting the dough out of the fridge and immediately start flattening it to fit the tart dough, use flour if needed, preventing the dough from sticking to the rolling pin.
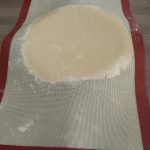
Flipping the dough can be in various ways, rolling it on rolling pin and laying it on the tart pan, flipping the silicone sheet onto the tart pan, or flattening the dough between two parchment baking papers and flipping them onto the tart pan, all methods are good.
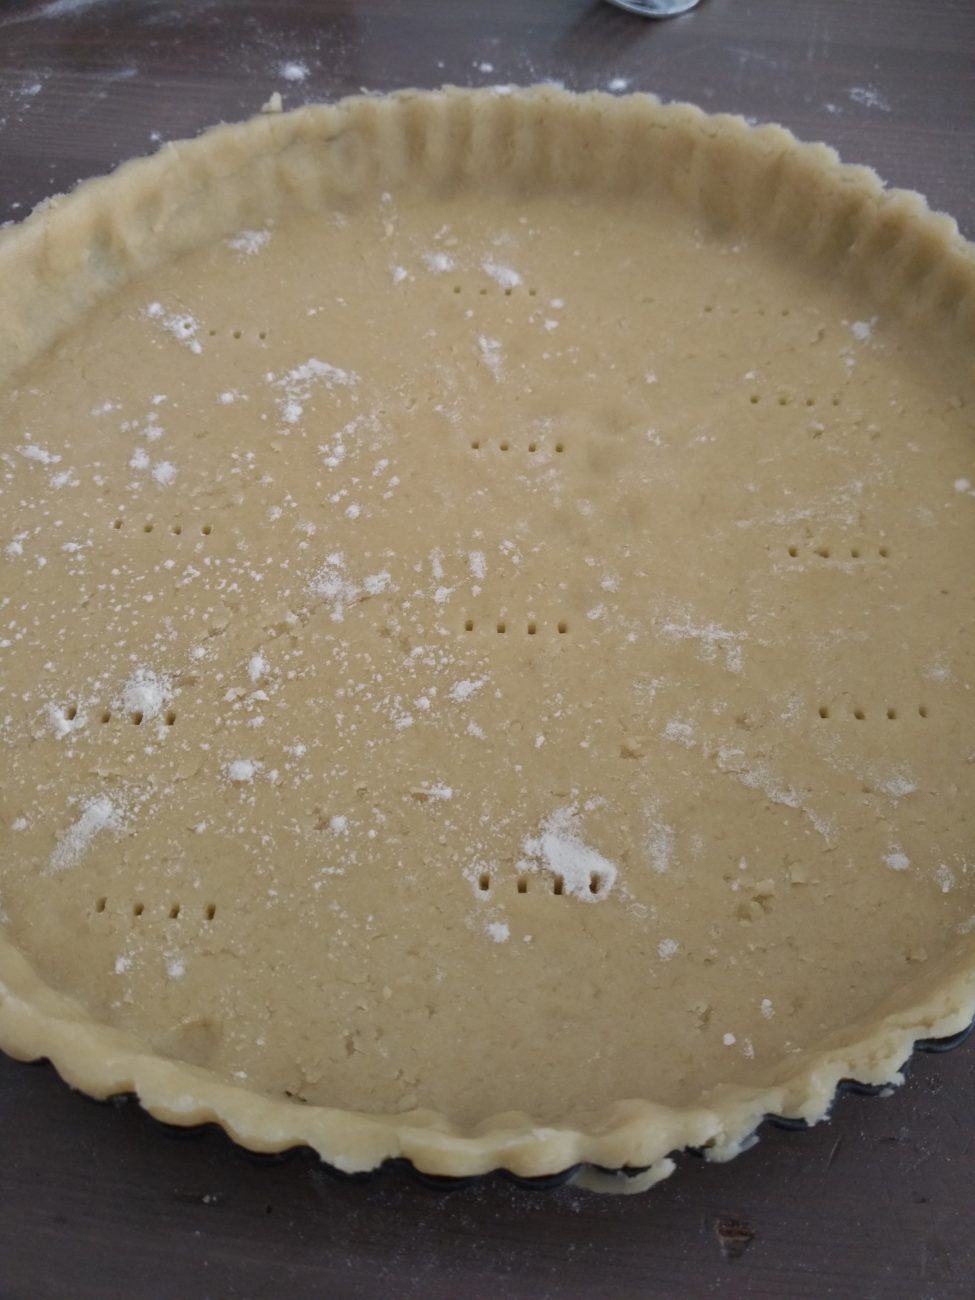
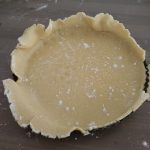
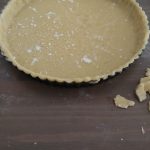
When the dough is in the pan tighten it to the pan sides and fill in torn spots, it’s perfectly fine.
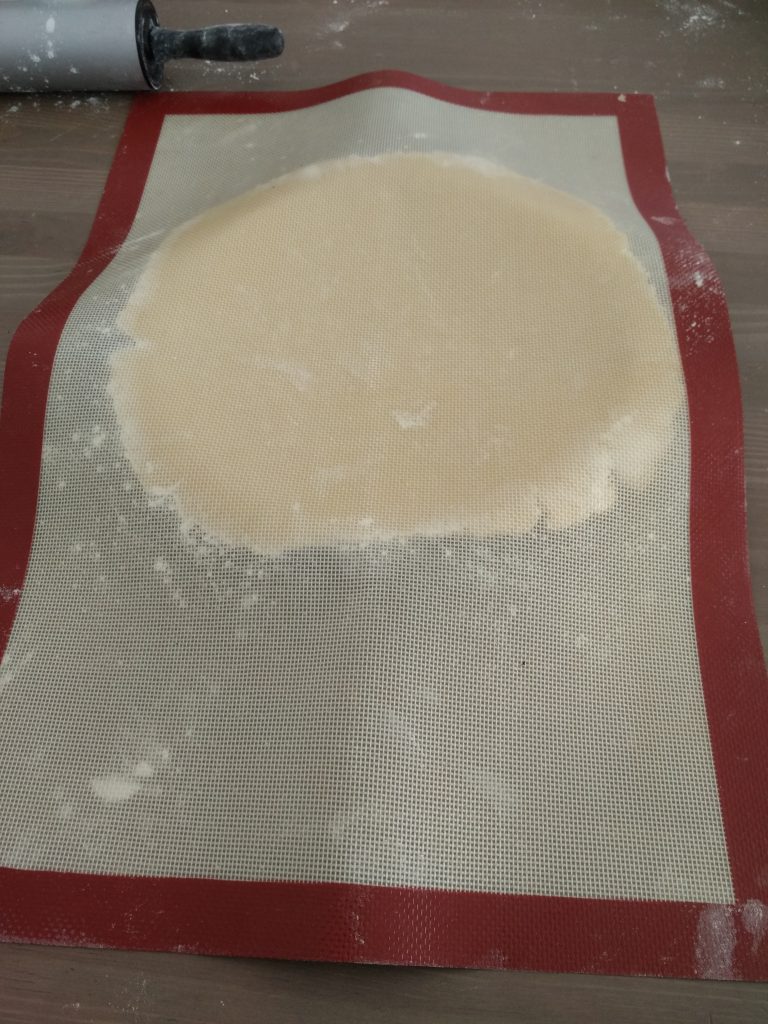
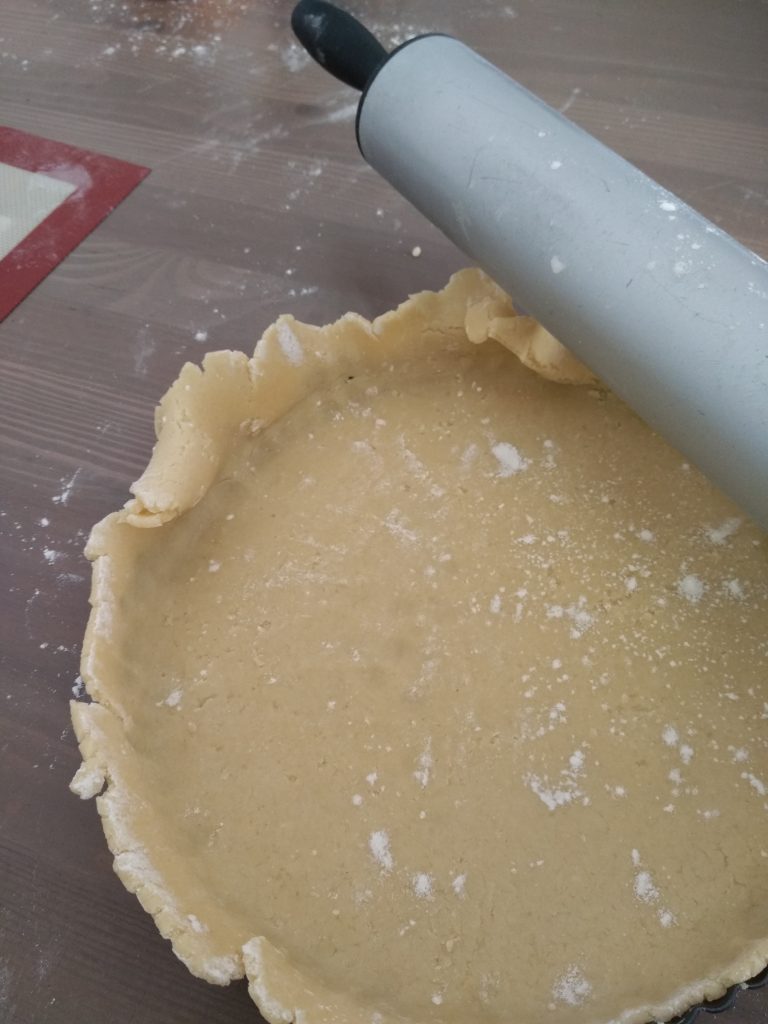
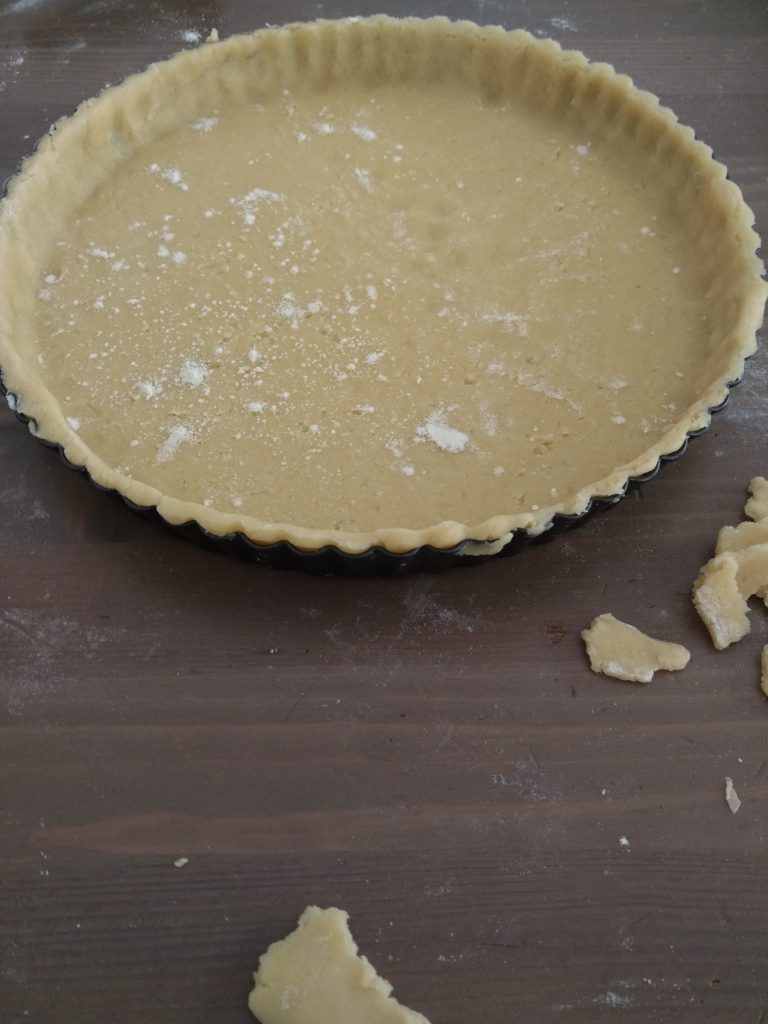
Baking the sweet tart dough
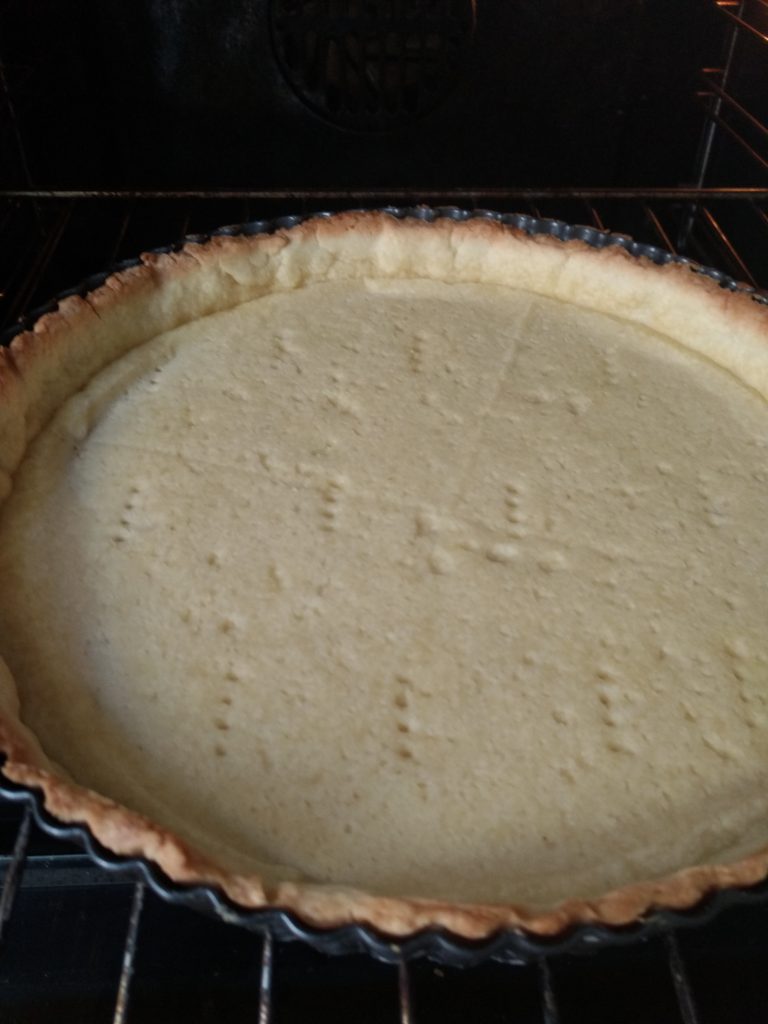
I want to bake a perfect crust that will be flat and hold my filling, in order to do so I need that the tart base will be without dough curves, in order to do that we will do the following:
- Making small holes with a fork in the tart base allowing the steam to be released and not lifting the tart.
- resting the tart in the fridge for another hour to balance the butter so the tart will keep its shape in the oven.
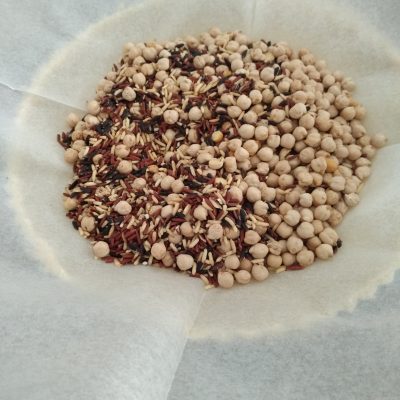
- Applying pressure to the tart surface with a “blind baking”, it is created by placing weight on the tart supporting the sides and applying pressure to the bottom part. we usually use different kind of grains for that: beans, chickpeas, rice etc. everything we can to apply pressure.
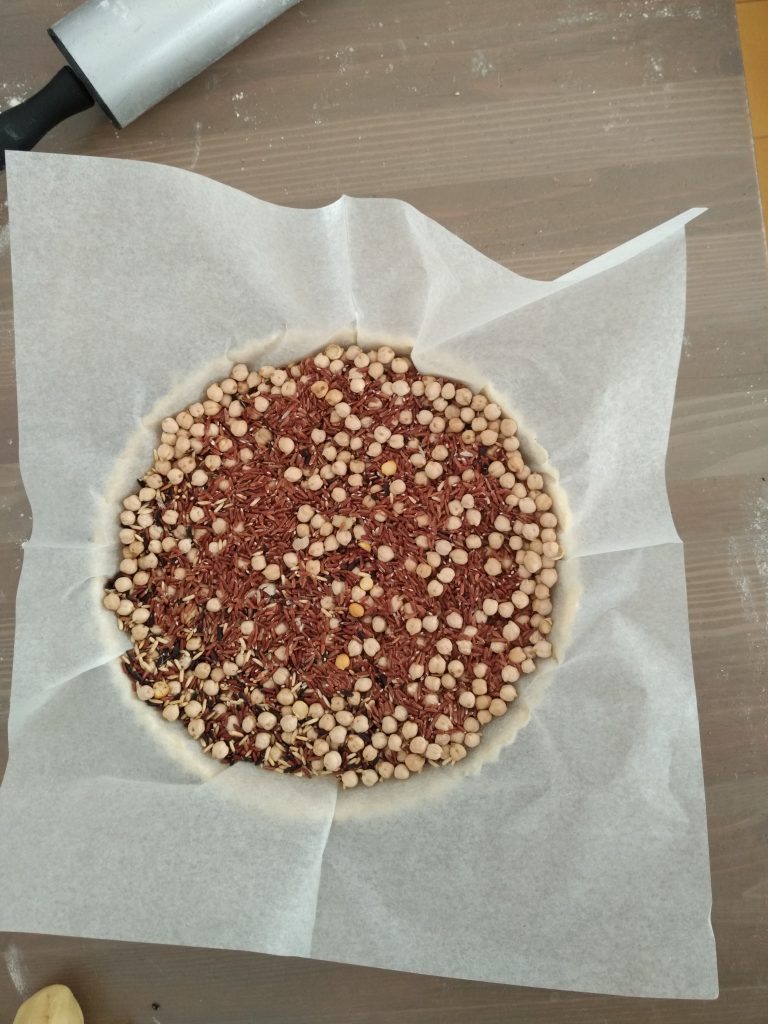
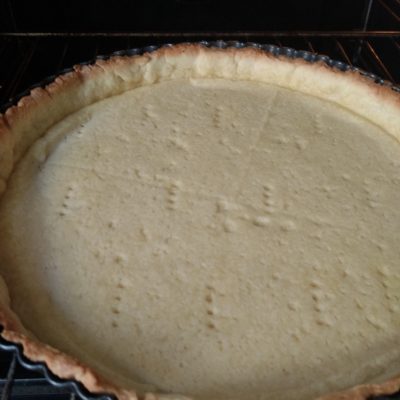
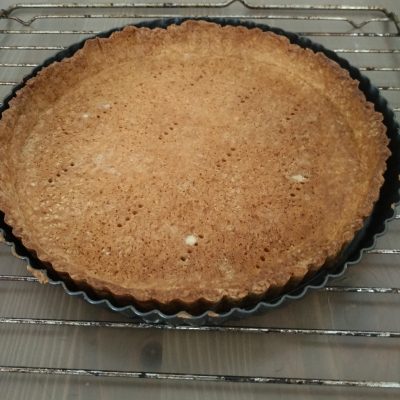
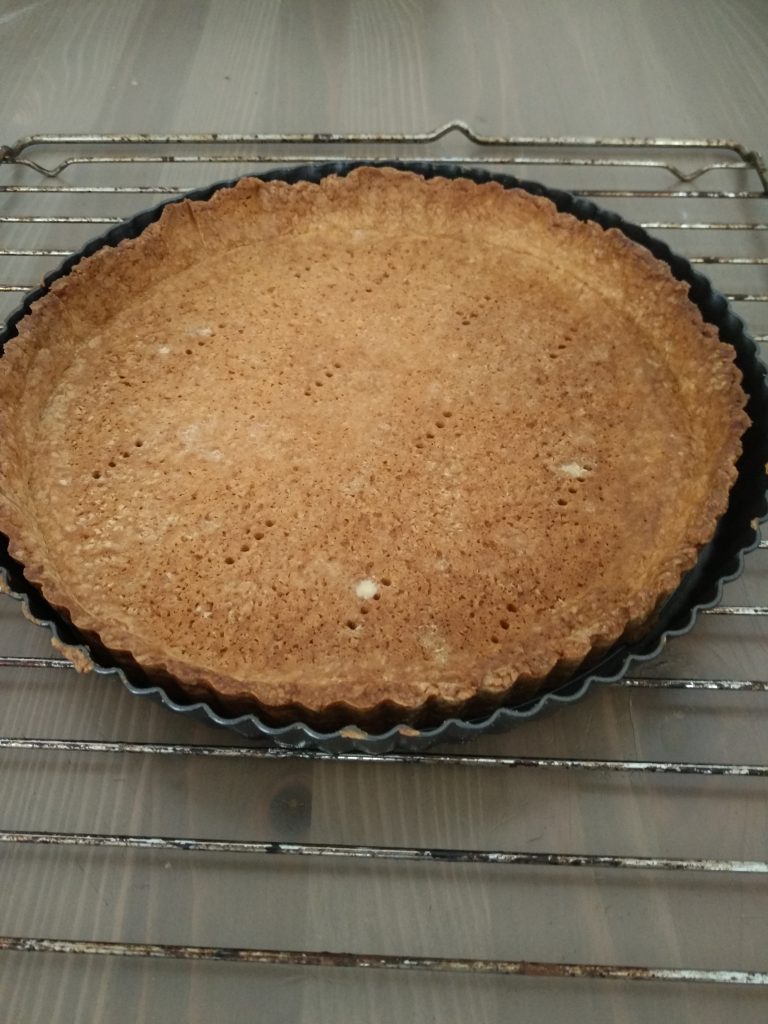
Baking temperature for the blind baking is 180°c/350°F for about 25 minutes, after this time, we remove the weight and bake for another 15 minutes until the crust is in nice golden brown color.
Steps
|
1
Done
10 minutes
|
making the basic doughPlace the butter and the sugar in a food processor and process until you get a smooth paste, scrape the bowl if needed. |
|
2
Done
7 minutes
|
shaping the tart crustButter a 26cm/ 10-inch tart pan |
|
3
Done
40 minutes
|
baking the TartPreheat the oven to 180°c/350°F. |

