Thin-Crust Pizza Dough
light airy full of bubbles delicious dough

Thin-crust pizza dough - the flour
The most important part of the dough is the amount of gluten in the flour — or more precisely, it's the protein ratio in the flour that, along with yeast and water, creates the miracle: the bubbles.When we think about pizza, we immediately picture the pizza maker throwing the dough in the air while stretching it out. Well, I'm not that artistic, but we are looking for that same flexible dough structure.
Wheat grains are composed of starch molecules and protein molecules — gliadin and glutenin — and when you add the catalyst of water and yeast, the bubbles emerge. Put simply: the more protein you have in the flour, the larger the bubbles in your dough. And we want those bubbles.
This is the reason I use a combination of all-purpose flour and bread flour.
Bread flour has a high protein ratio of 11–14%, and all-purpose flour has 8–10%. Combining them both will ensure a high protein ratio and a good amount of flexibility.
Of course, if you have a good Italian "00" flour or a specialized pizza flour, by all means use it — the results will be optimal. But bread flour plus all-purpose will give you great results as well.
The yeast
There's no right or wrong when it comes to yeast. I tend to use dry instant yeast — just keep in mind that if you use fresh yeast, you need to multiply the quantity by 3, meaning that for 5 grams of dry yeast you need 15 grams of fresh yeast.Proofing the dough
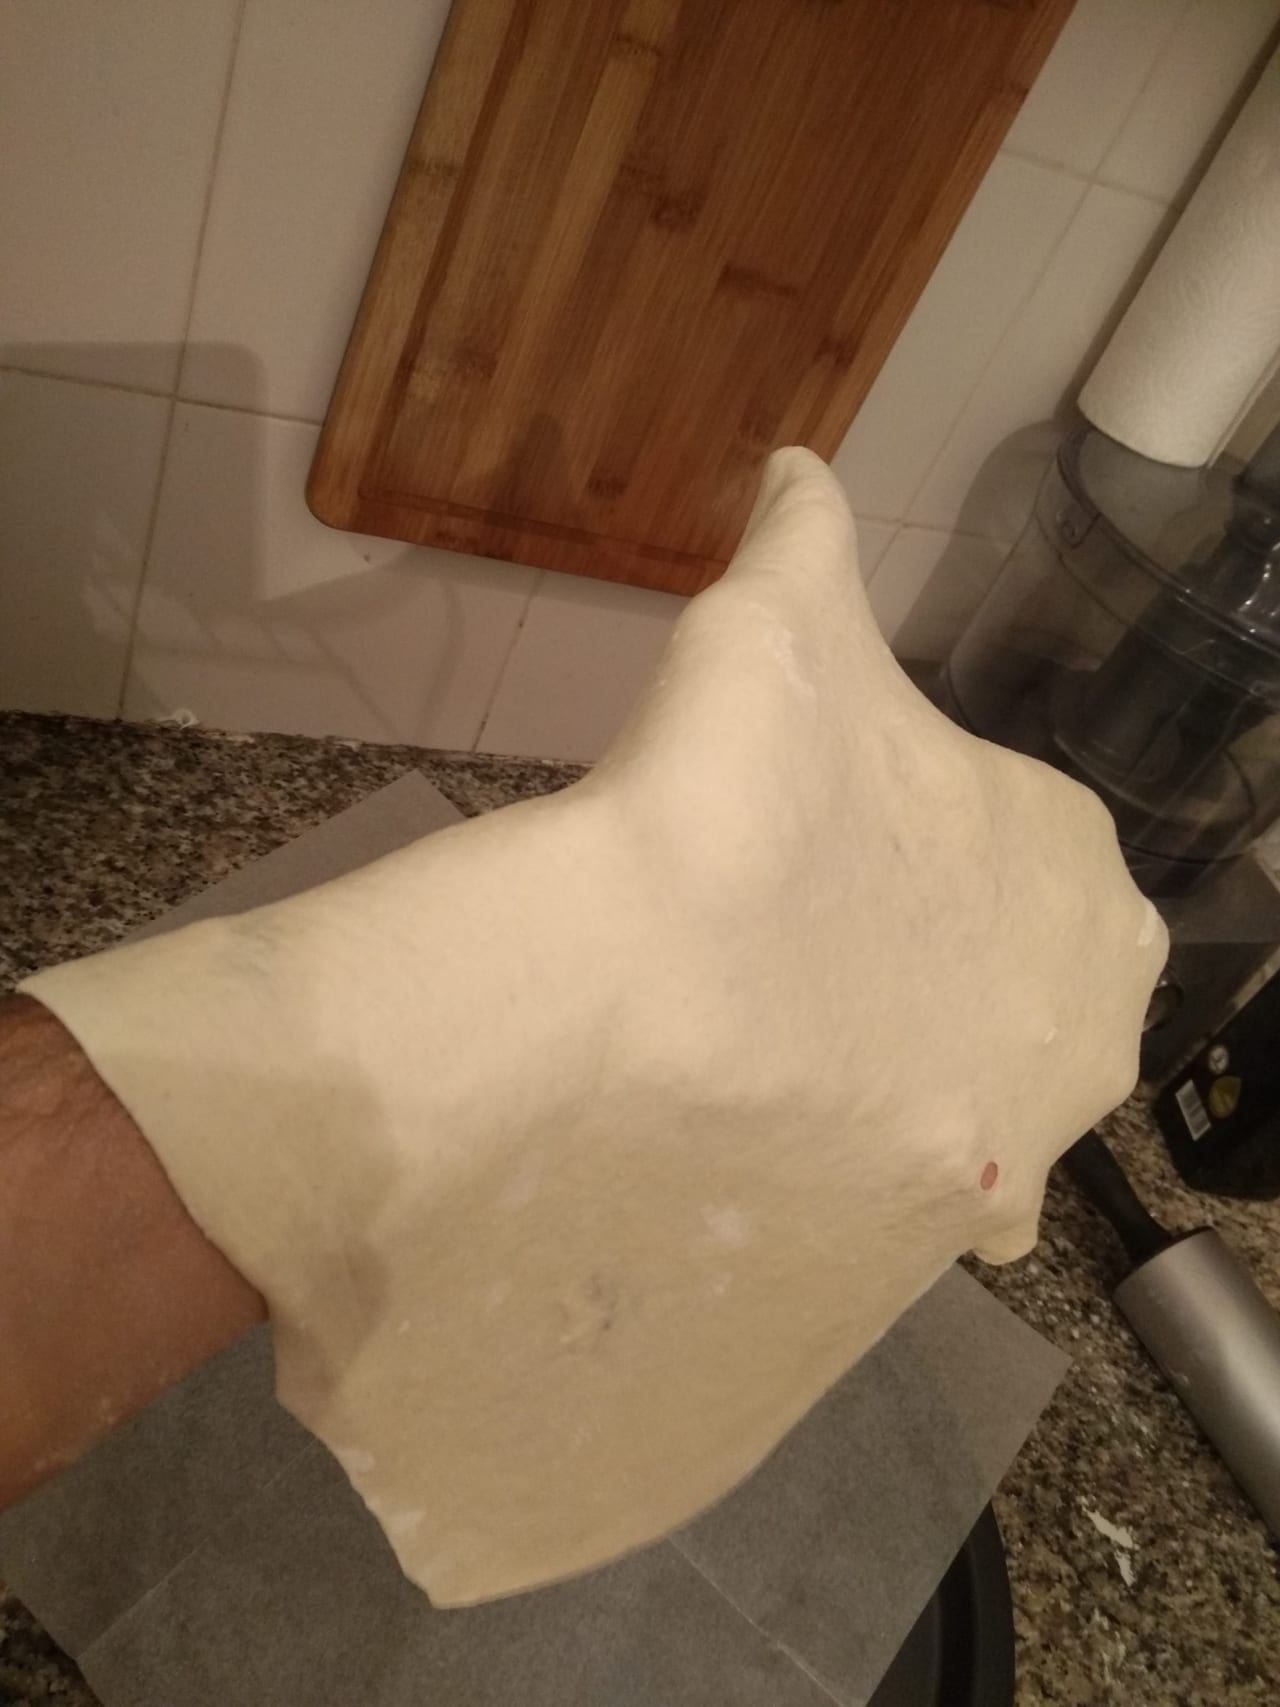
When it comes to forming gluten connections and developing a strong, deep dough flavor, we need time. I see a lot of recipes that give the dough a 10-minute rest and send the pizza straight into the oven. Hey — it's a thin-crust pizza dough, we don't need the proofing, it's thin, right? Wrong. It does need proofing, and plenty of it. Remember, we need that flexible texture — the dough needs to be stretched to the point where it's almost transparent. For that to happen, the gluten connections need to form, and that takes time.
Stretching the dough
I use a combination of a rolling pin and my hands. I start by flattening the dough with the rolling pin until it's about 2 inches thick, then I work it with my hands, stretching the dough by turning it in the air (not throwing it in the air — my ceiling isn't that high...). If the dough is showing a lot of resistance (it shouldn't if you followed my instructions), just open it with your rolling pin, leave it for 10 minutes, come back, and it'll cooperate. The key to opening a good pizza dough is not fighting it. We want the dough to cooperate — only then will it give us the results we want.Method
- 1
mixing all ingredients· 15 minutes
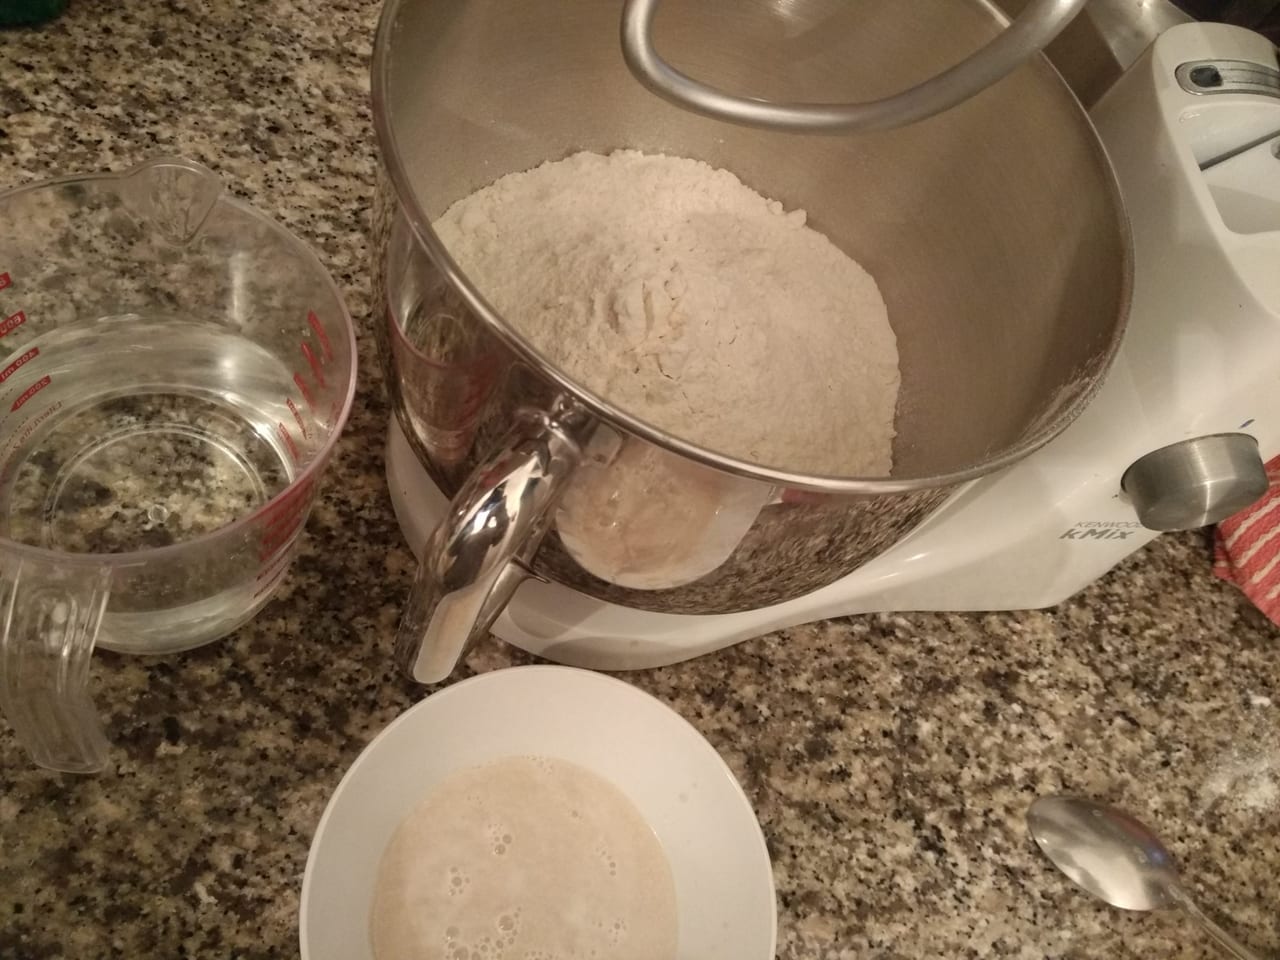
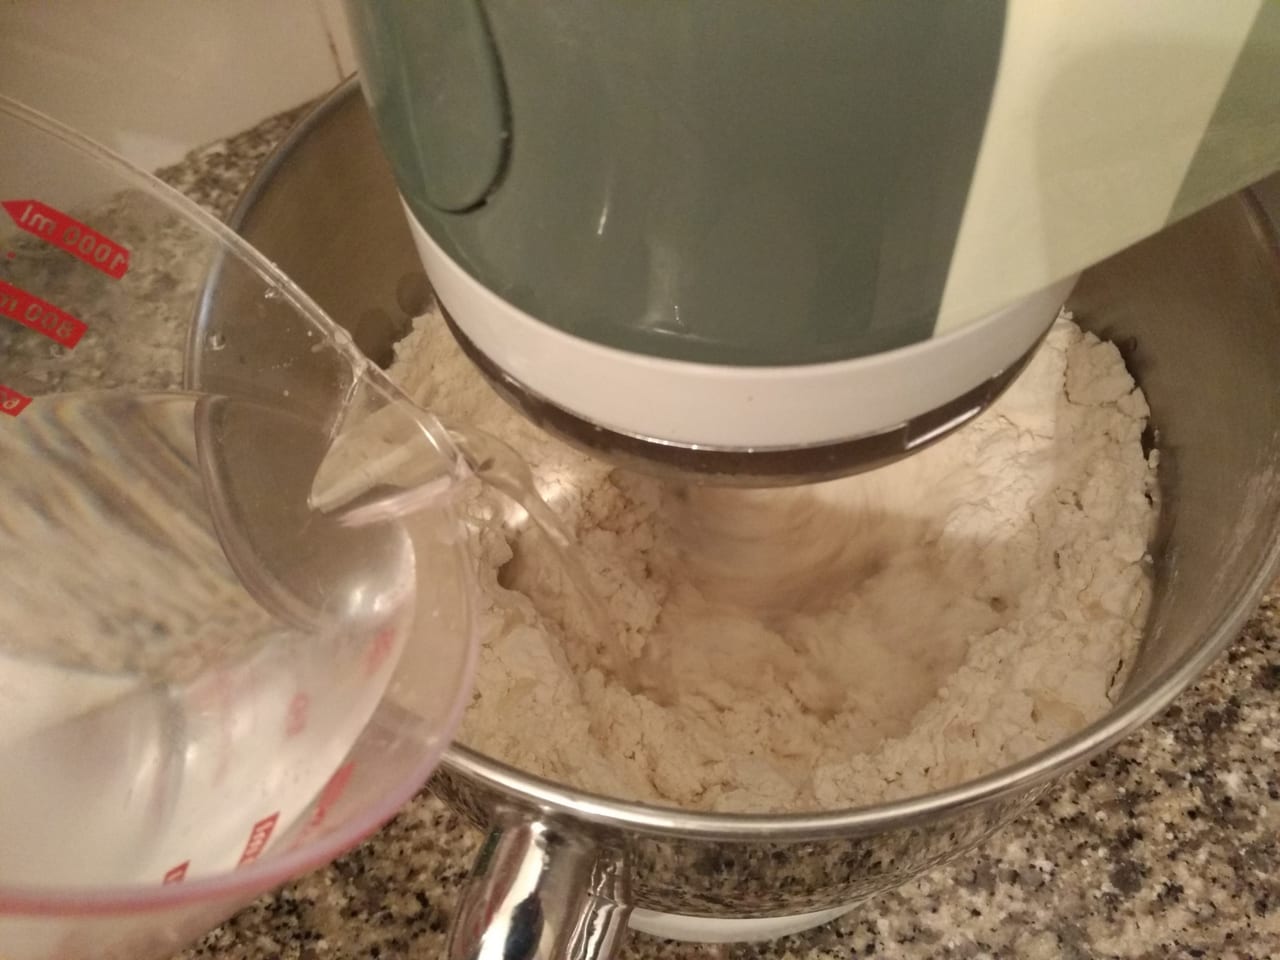
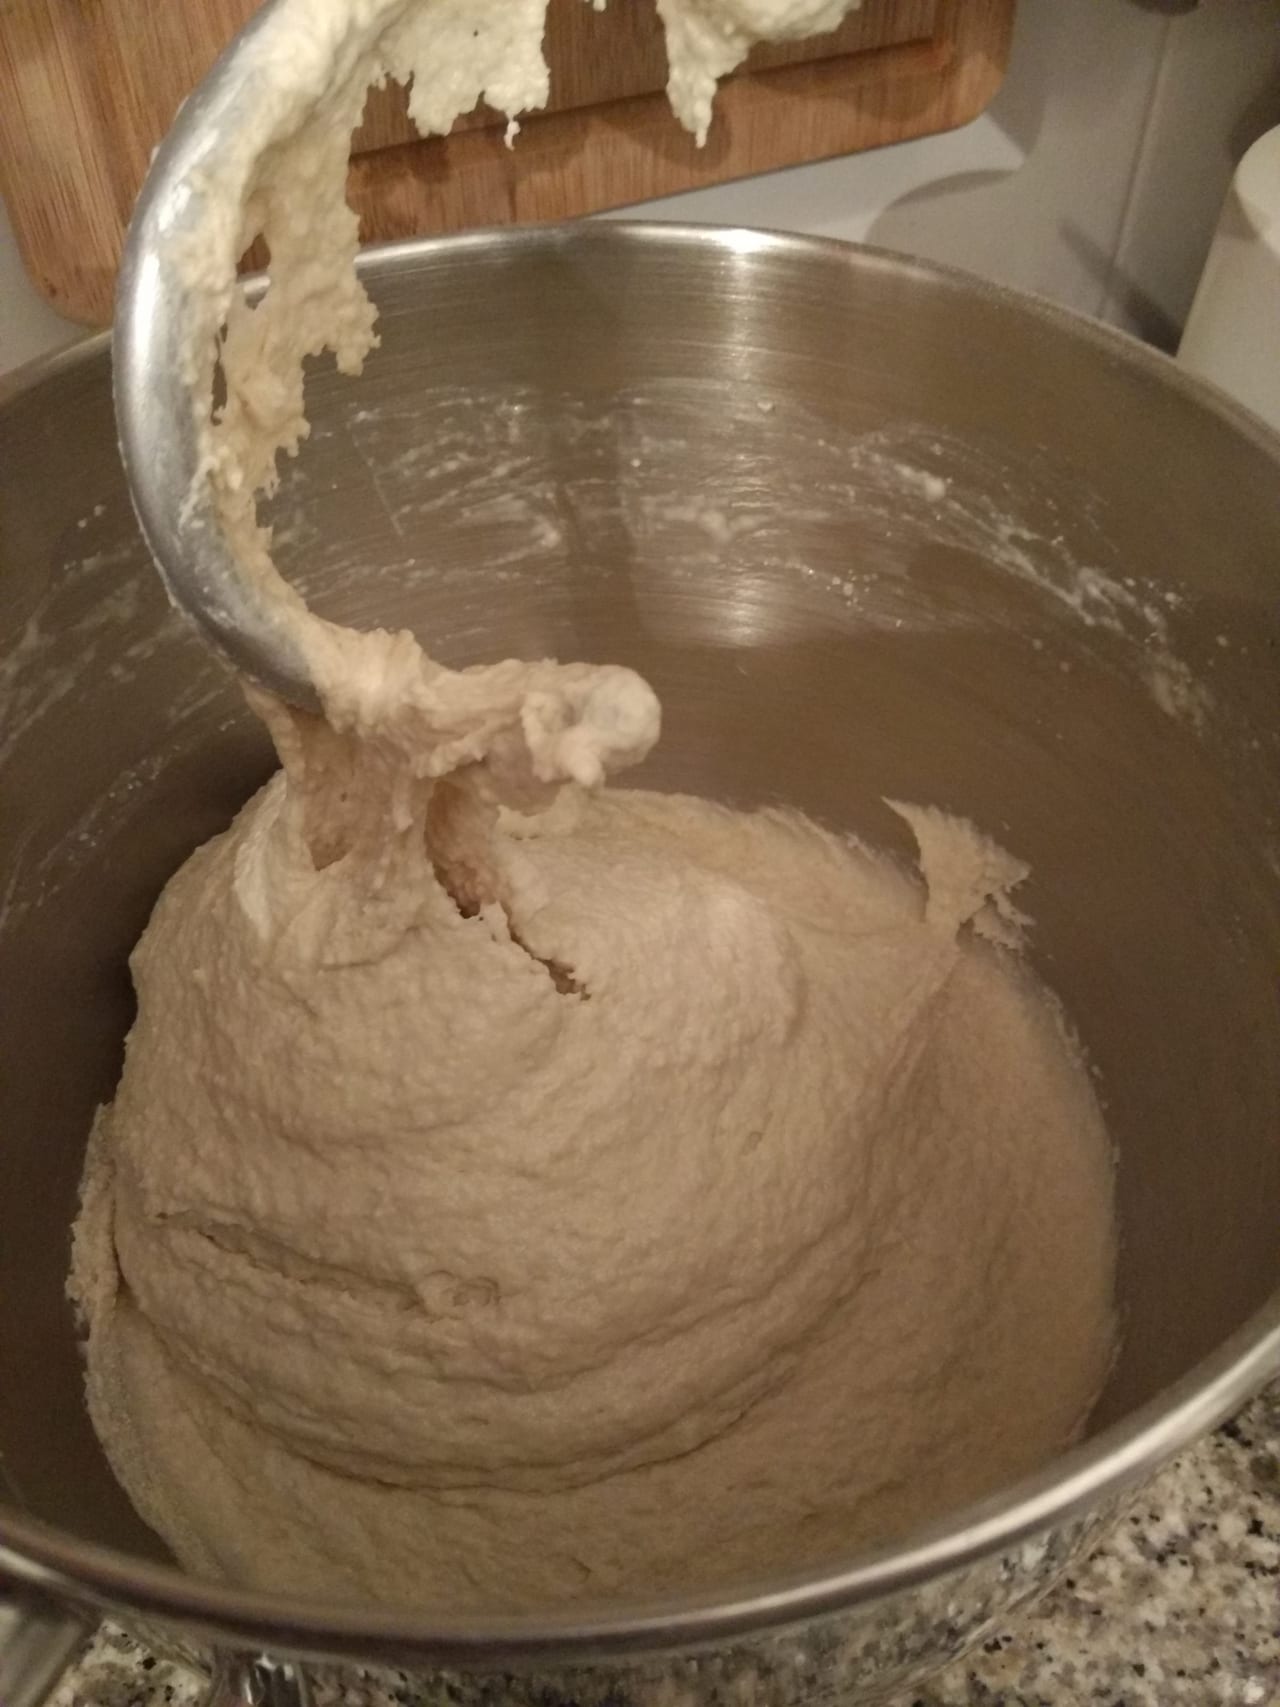
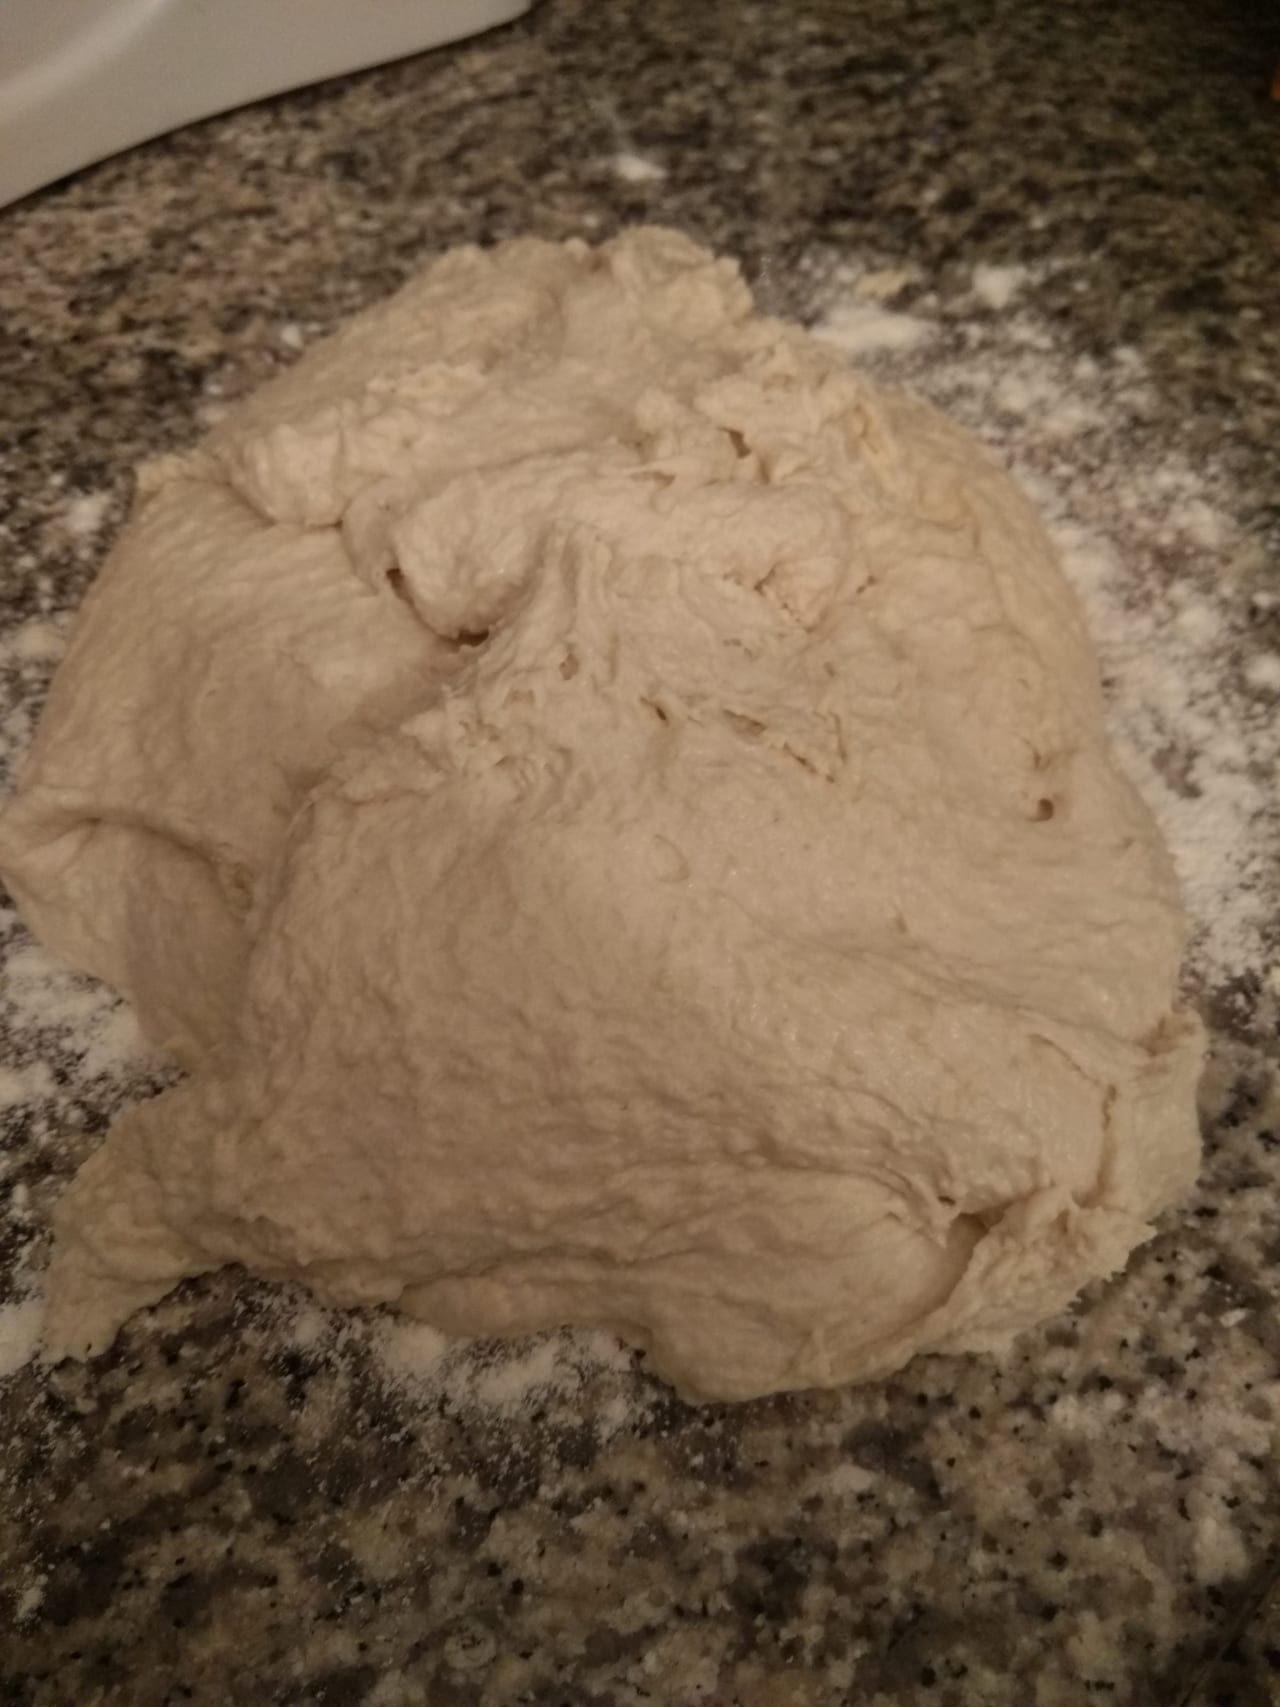
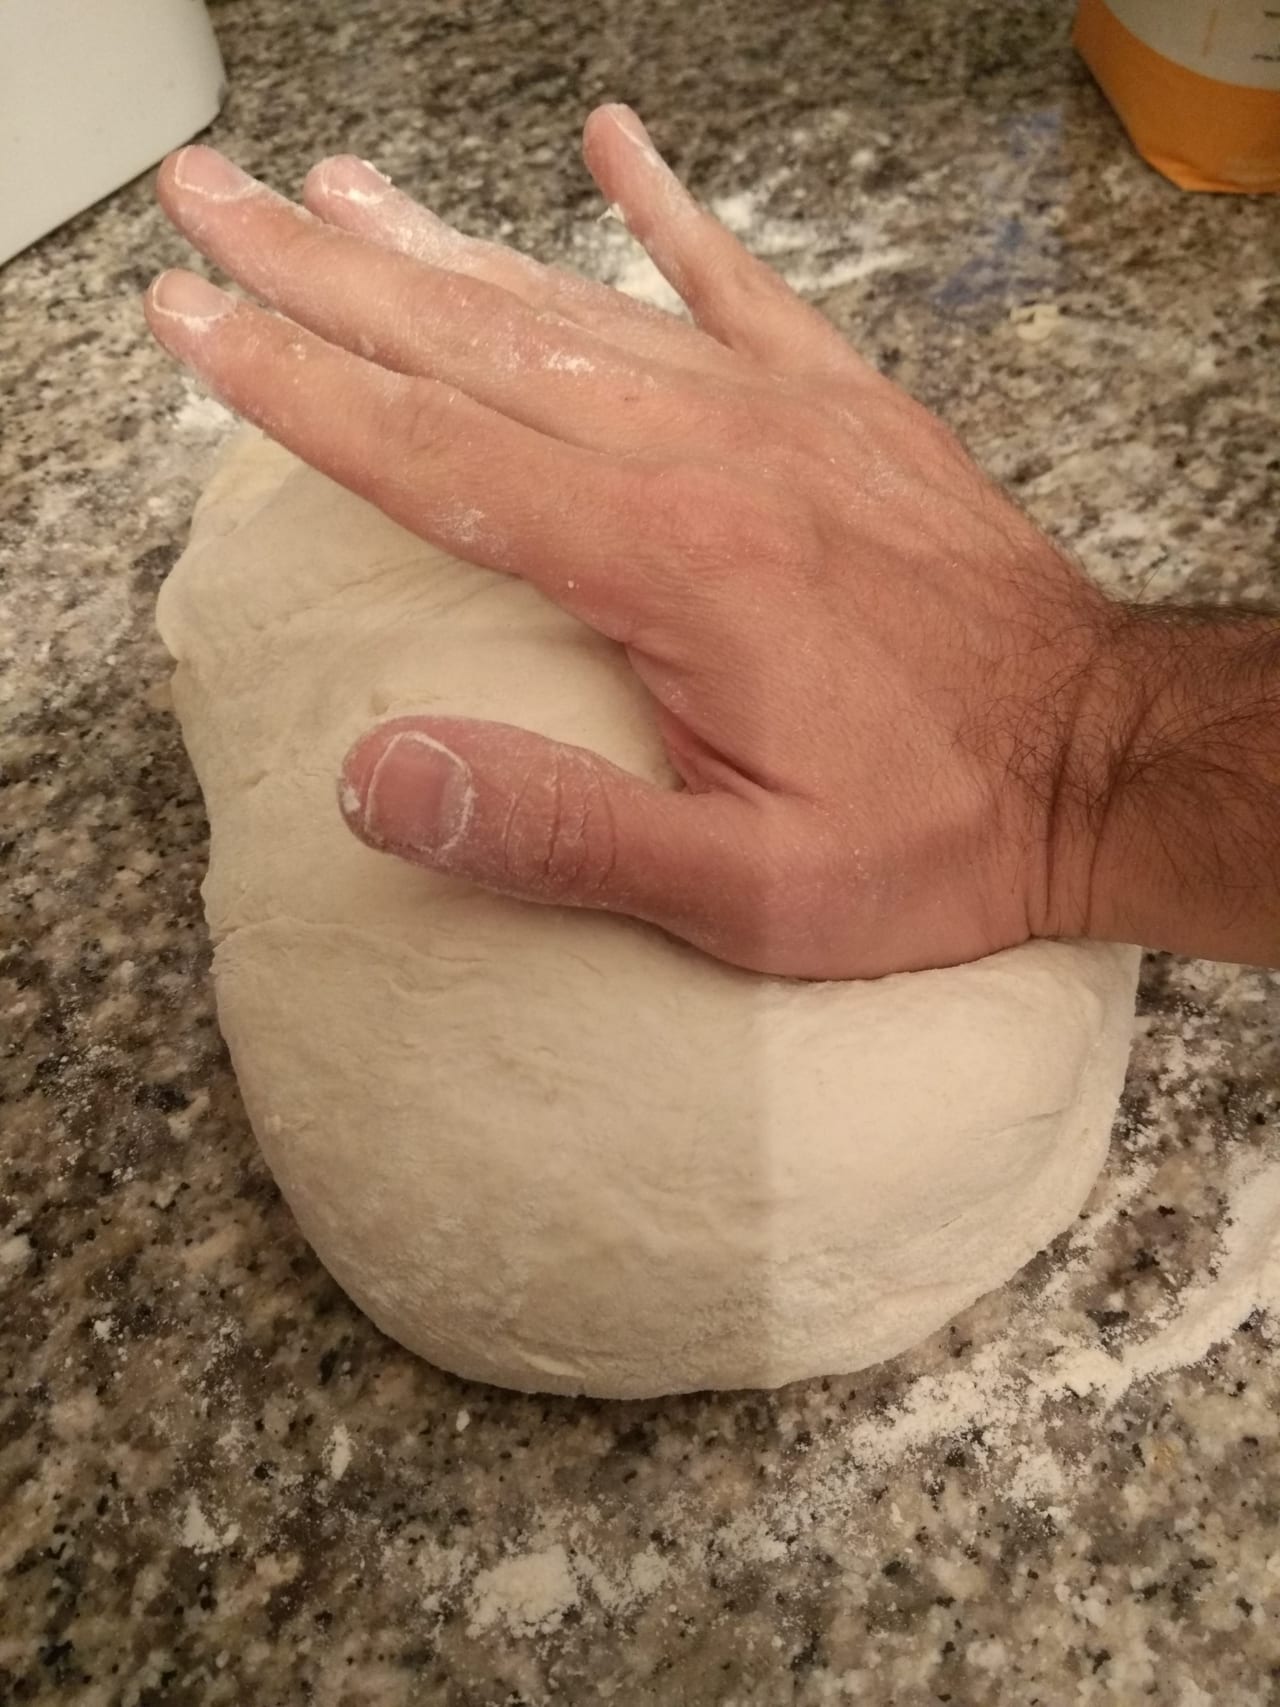
In a small bowl, add the warm water yeast and sugar, mix with 2 table spoons of the flour and rest for 5 minutes. Set a stand mixer fitted with the hook attachment, add the bread flour and all-purpose flour, the bowl of yeast-sugar-warm water-flour, olive and oil and mix for 1 minute on slow speed. Pour the water in a steady drizzle until it all absorbs in the dough and mix for 5 minutes on medium speed. Add the salt and mix for another 7 minutes. Take the dough into a floured counter and work it out with your hands adding more flour if the dough is very sticky.
- 2
proofing the dough· 24 hrs
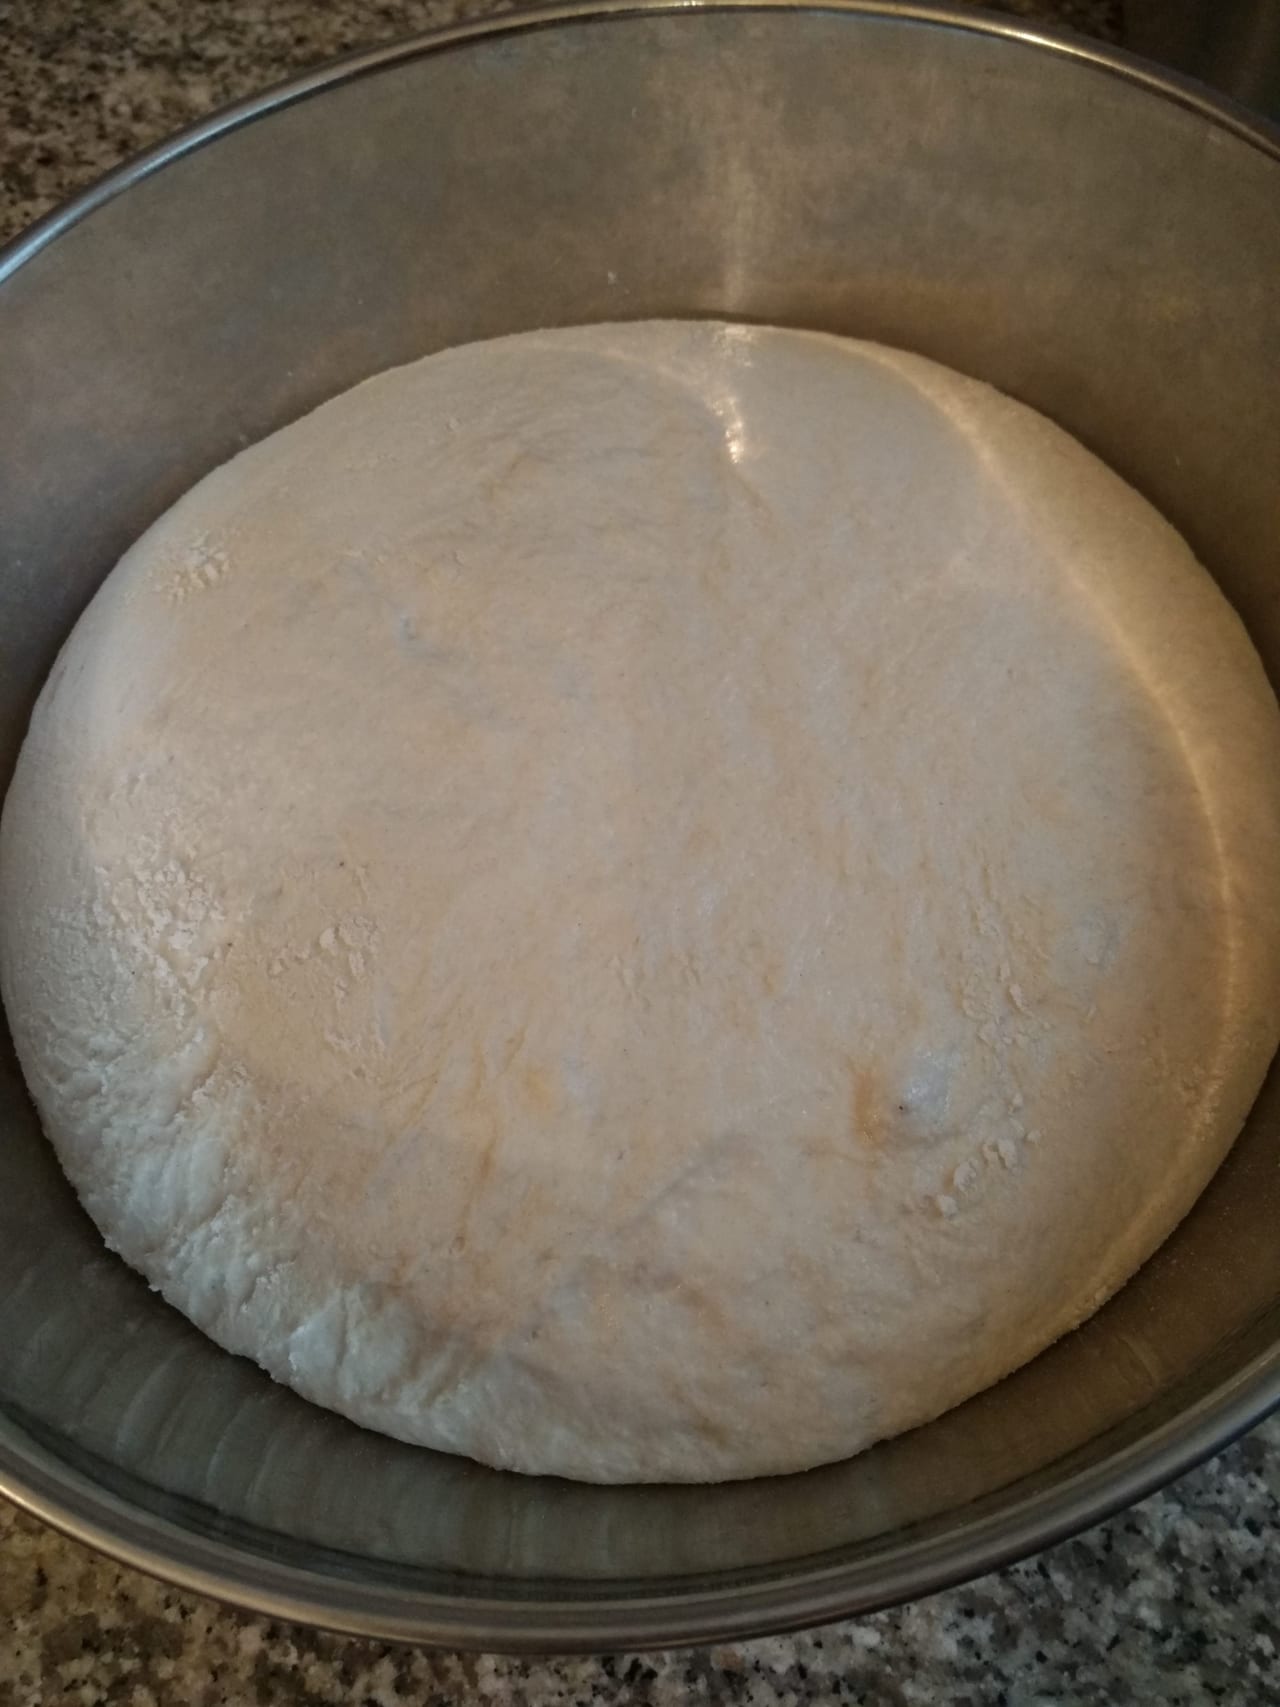
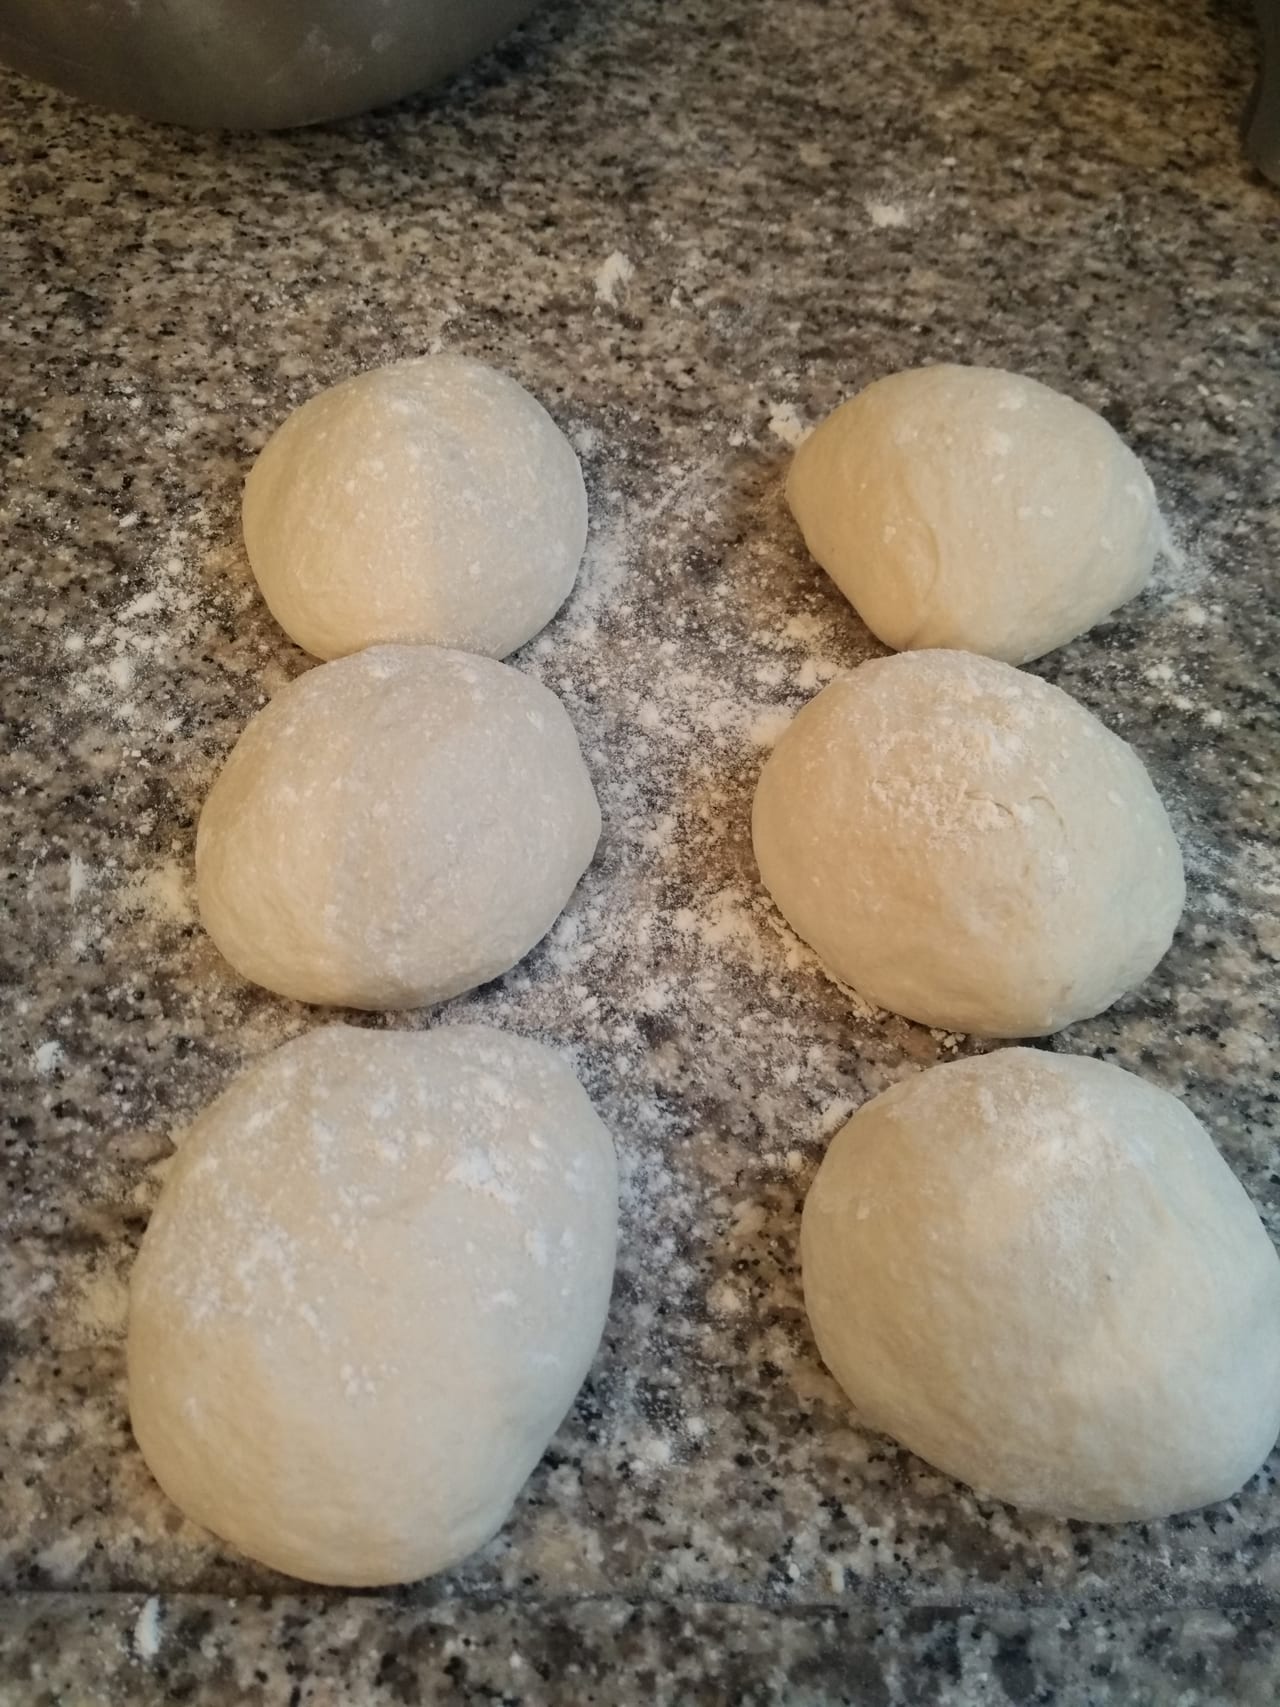
Dust the dough with some extra flour and place it in a bowl, cover with a plastic wrap. Place the bowl in the fridge to rest overnight. Take out the dough out of the fridge to the counter and let it rest for 2-3 more hours in room temperature until it doubles its size. Divide the dough into 6 small balls, cover them with a wet towel and proof for another 2-3 hours.
- 3
shaping the dough
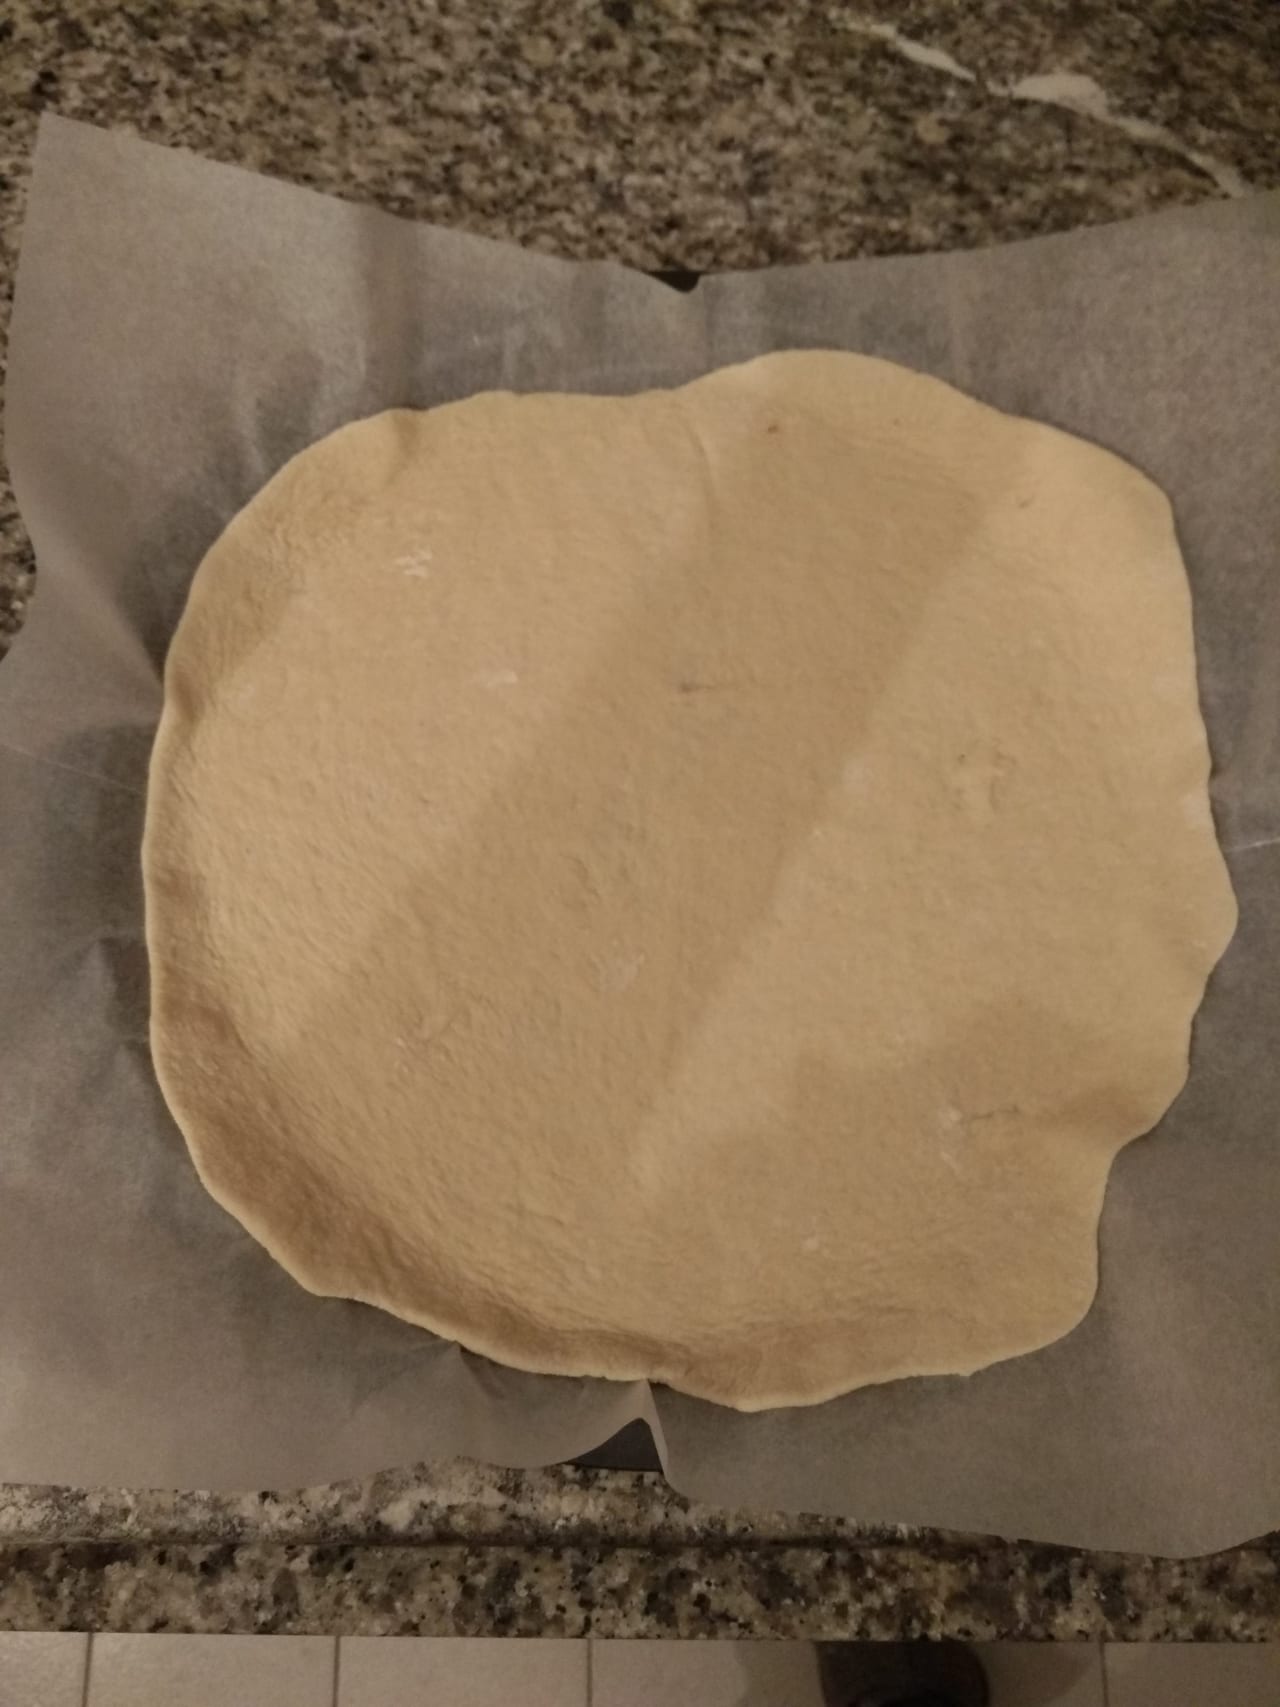
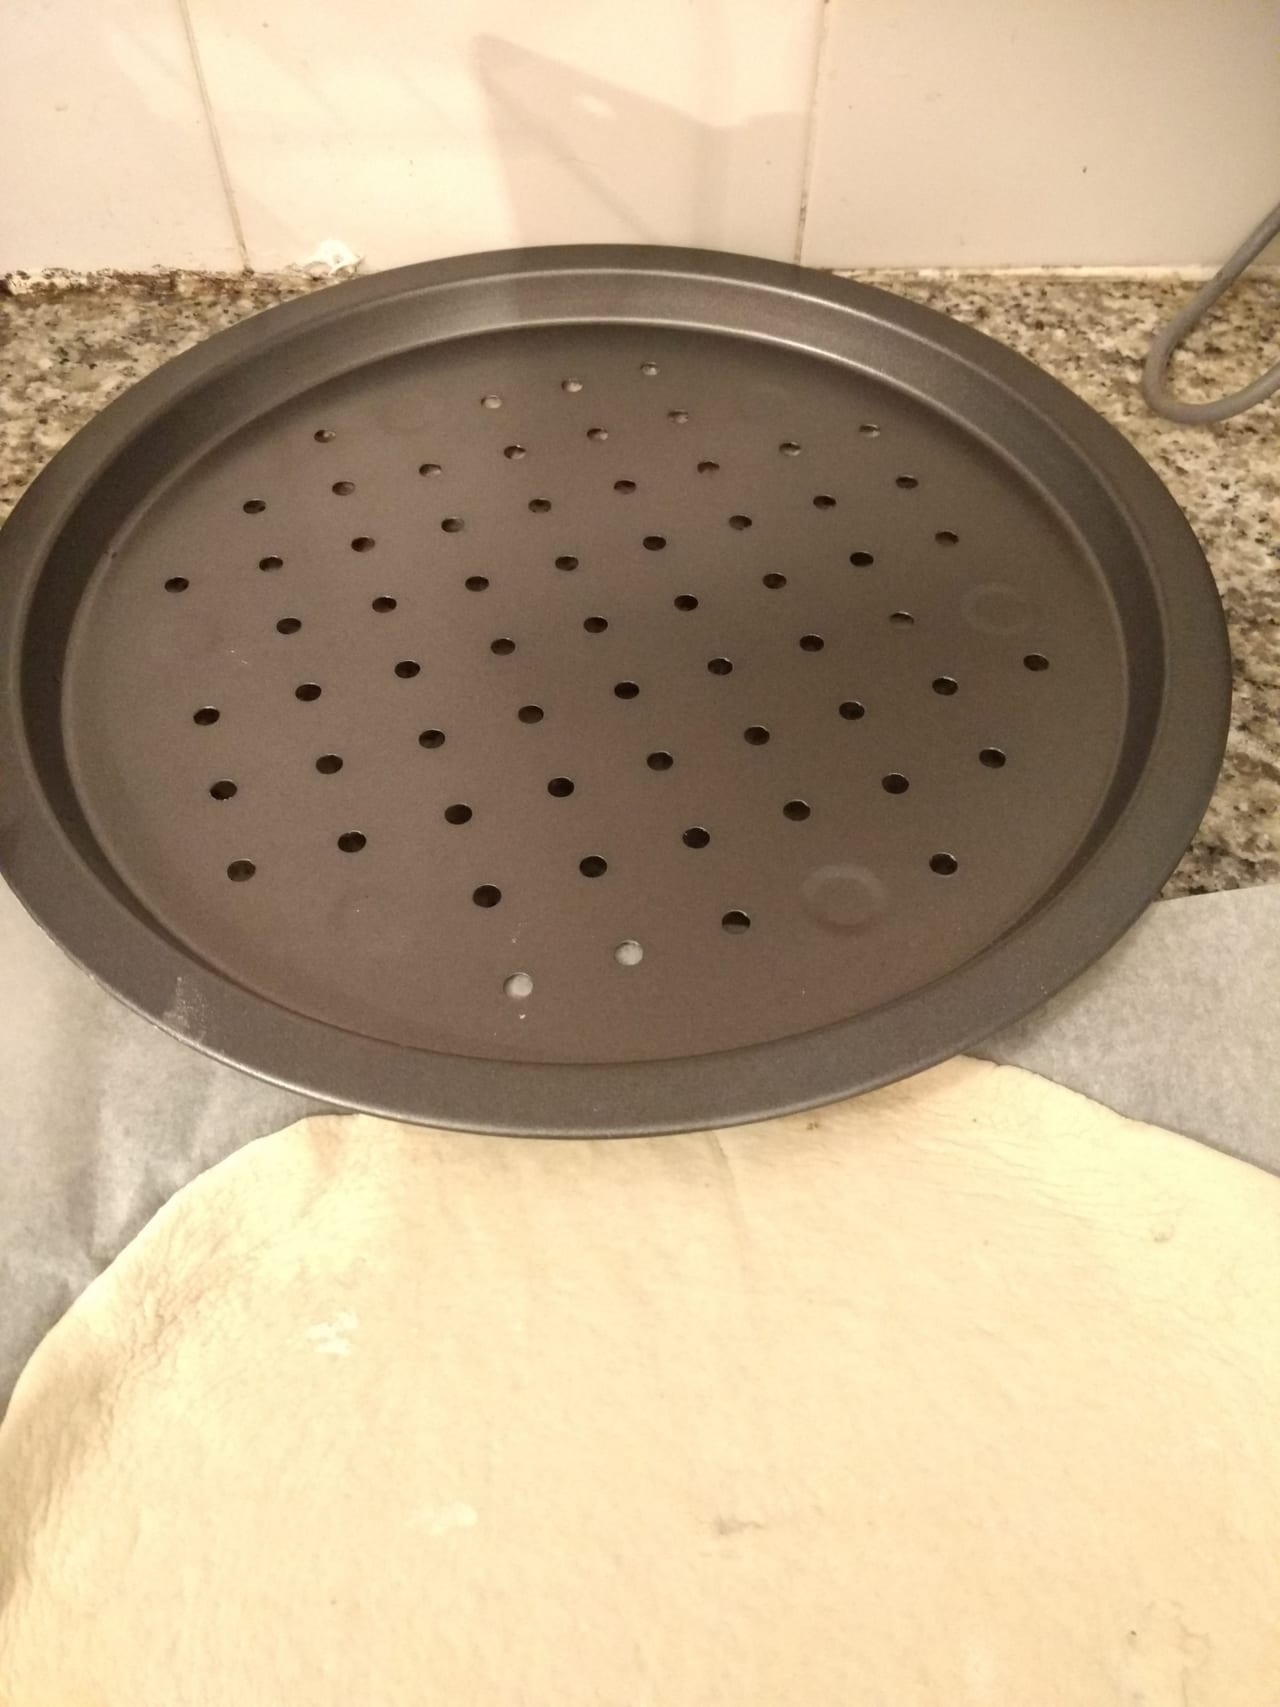
Work the dough with your hands stretching it until it reached the desired thickness adding some more flour if it sticks. Set dough on the pizza baking pan.


Jaron Kimhi
Jaron Kimhi — self-taught home cook from Tel Aviv, writing and cooking every recipe on this site himself. 20+ years of tinkering in the kitchen, leaning toward slow cooking, classic technique, and honest ingredients.
More recipes by Jaron →


