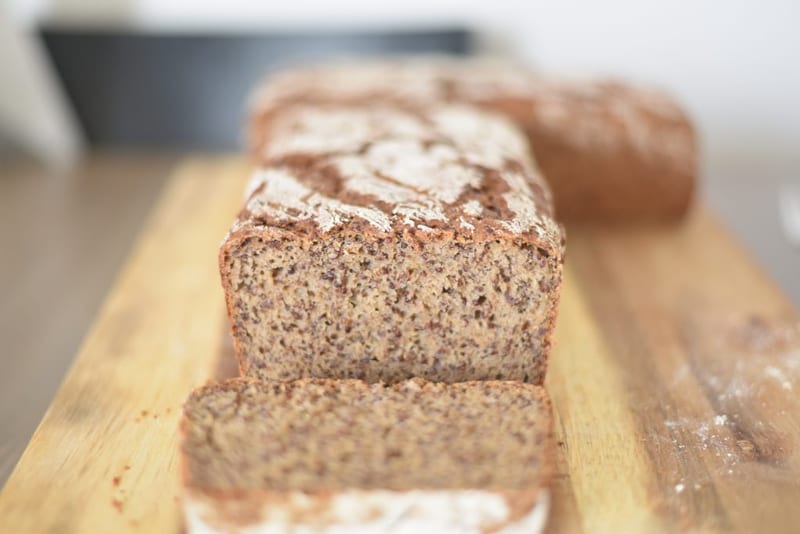
Rye red Quinoa bread
High nutritional values delicious bread

Why rye red quinoa bread?
First thing that comes to my mind is: why not? But when you think about it, if we're making bread at home we want it to have better nutritional values than the store-bought kind (and better taste — but that's the easy part...). The health benefits of rye are huge compared to white flour. It's high in protein, phosphorus, iron, and potassium, and it's also low in gluten and saturated fat. Rye is known for its ability to improve blood glucose levels and lower insulin response — not to mention it keeps you fuller for longer than white flour.Quinoa is known for its rich nutritional values — magnesium, B-vitamins, iron, potassium, calcium, phosphorus, vitamin E, and antioxidants.
So you can imagine this bread being a full meal on its own — and as such, you actually eat less of it, even though it's just delicious.
the method
The first thing I do to build flavor for this bread is a 48hr starter dough made with yogurt and flour. The bread itself is made with a variety of flours, though rye is over 70% of the flour content and the main ingredient by far. In every bread I try to use a combination of flours for a deeper, richer flavor. A great example is the whole spelt bread — even though it's close to 100% spelt, I always add another flour for variation. Rye breads aren't necessarily dense. They can be light and airy like white flour breads, even though their gluten content is much lower. The key is to create a flexible dough with minimum handling, so we don't interrupt the bubbles forming in the bread.
Method
- 1
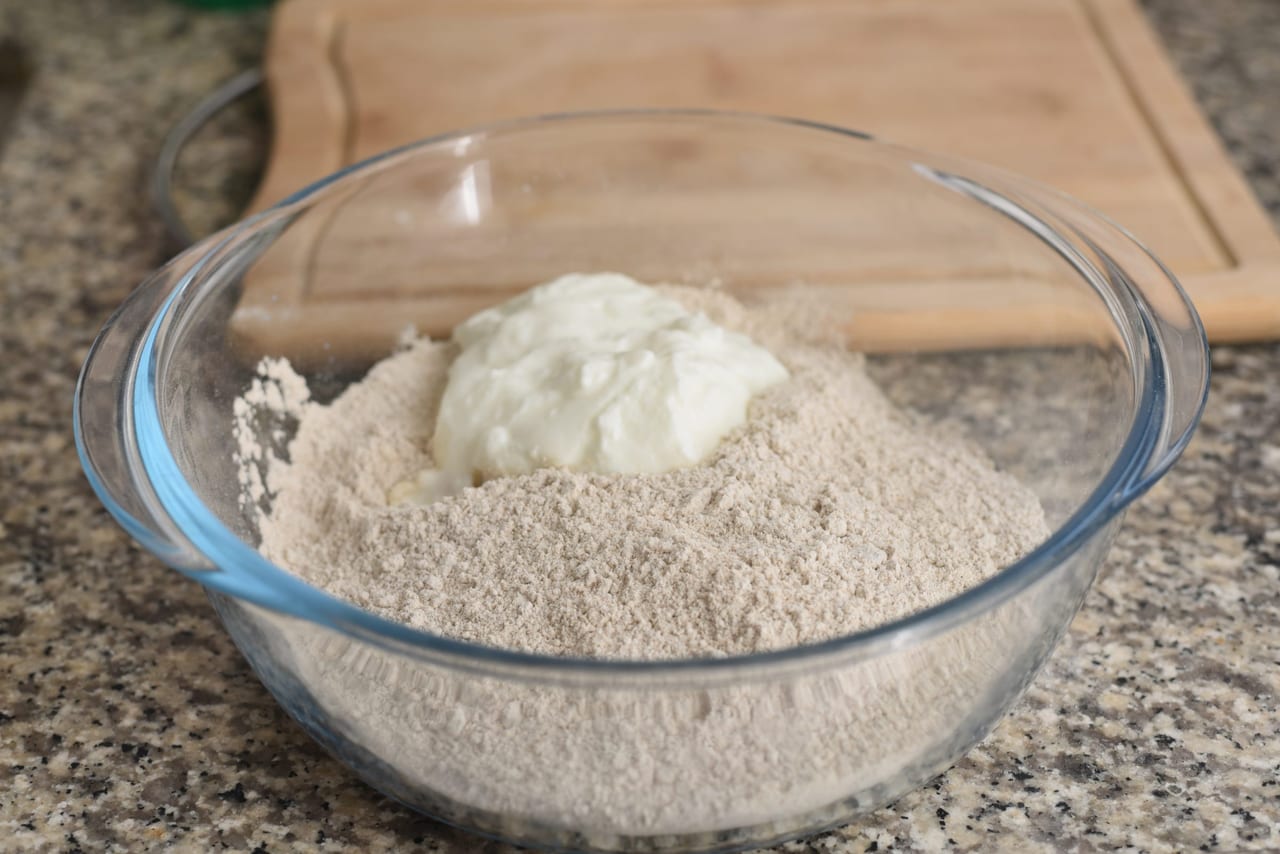
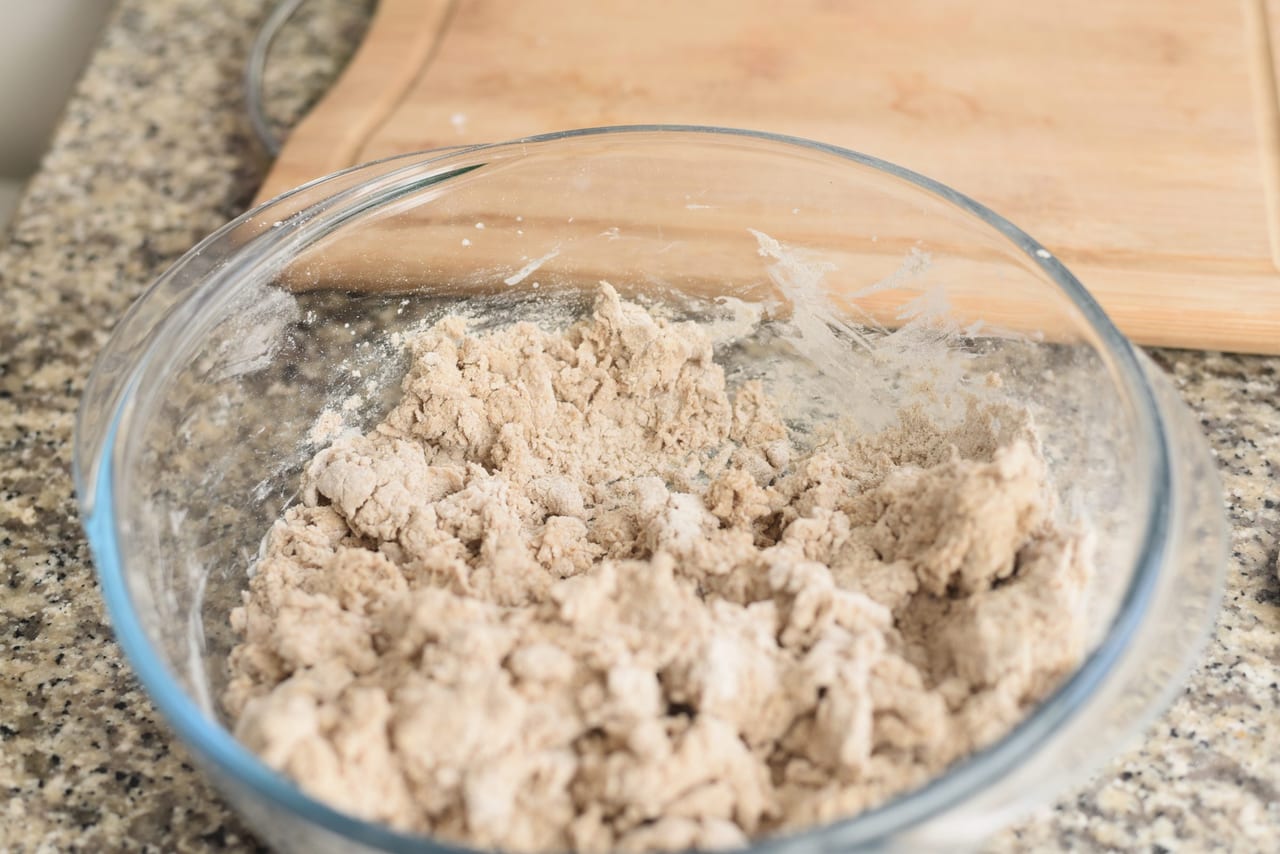
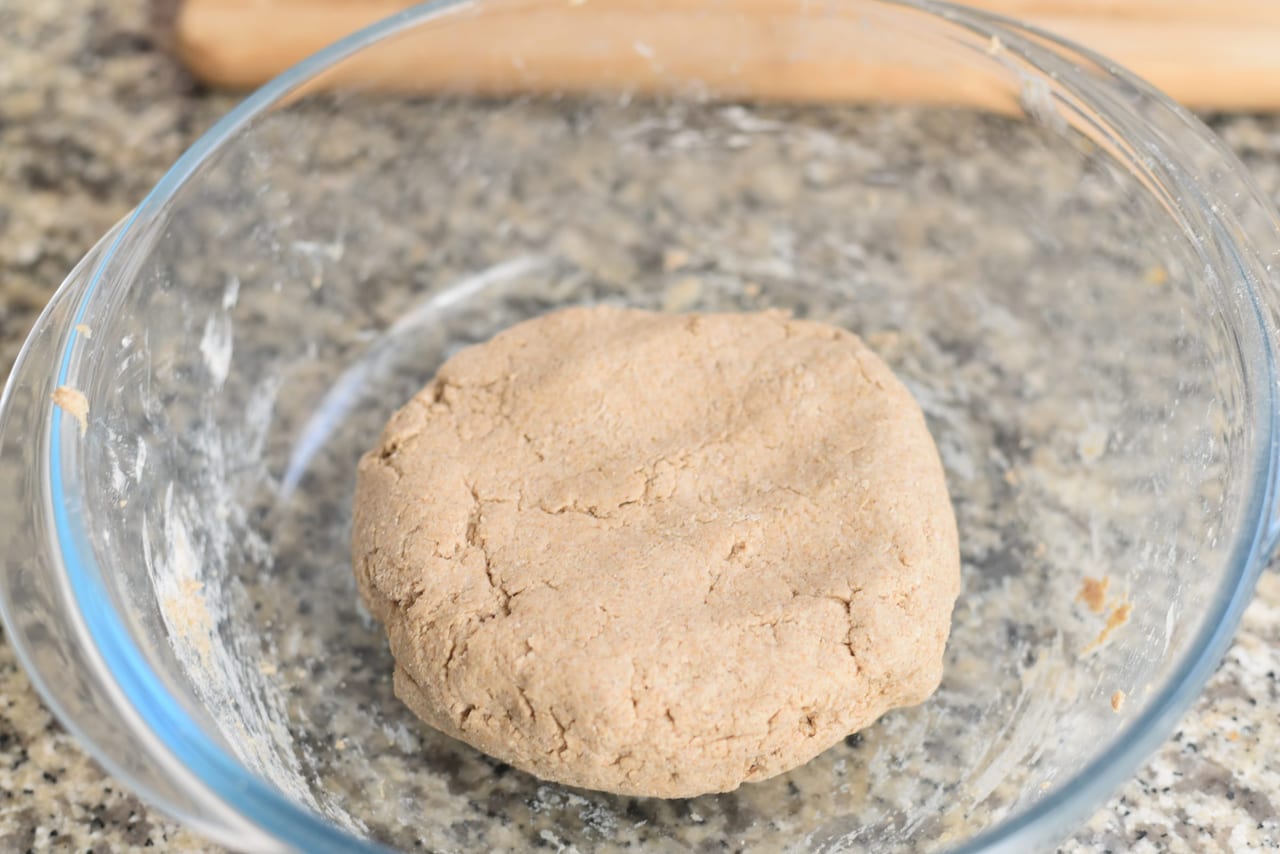
making the starter dough· 48 hrs
Place the rye flour, yogurt and salt in a bowl, mix and place in a cool spot in room temperature for 48hrs. The starter is thick, it does not suppose to bubble since there is no yeast action.
- 2
cook the quinoa· 10 inutes
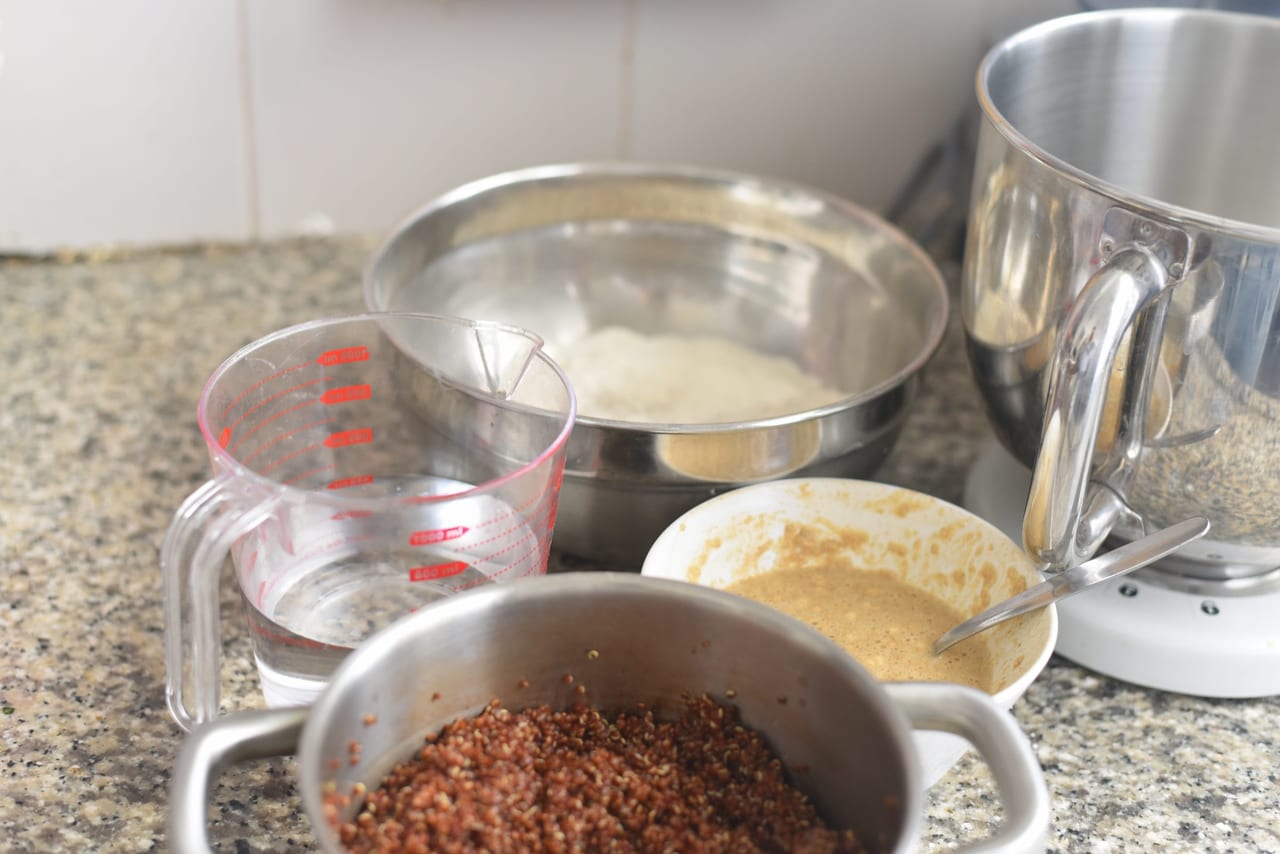
Place the quinoa in a medium saucepan, fill with water about an inch higher than the quinoa level. Bring water into a simmer and reduce heat to low for another 4-5 minutes. Remove the saucepan from heat and leave the quinoa in the saucepan for another 10 more minutes to cool down (don't open the lid). Open the lid and keep aside.
- 3
mixing the dough· 20 minutes
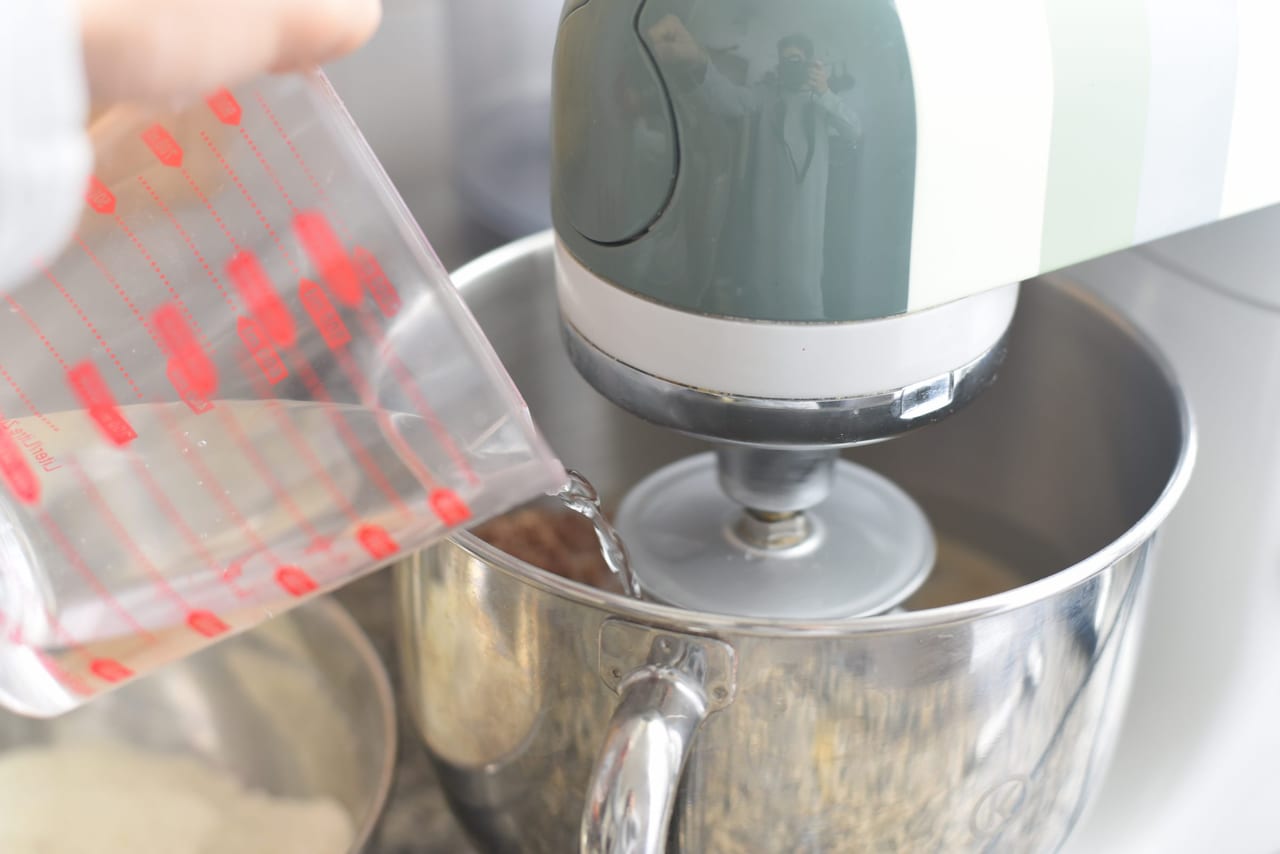
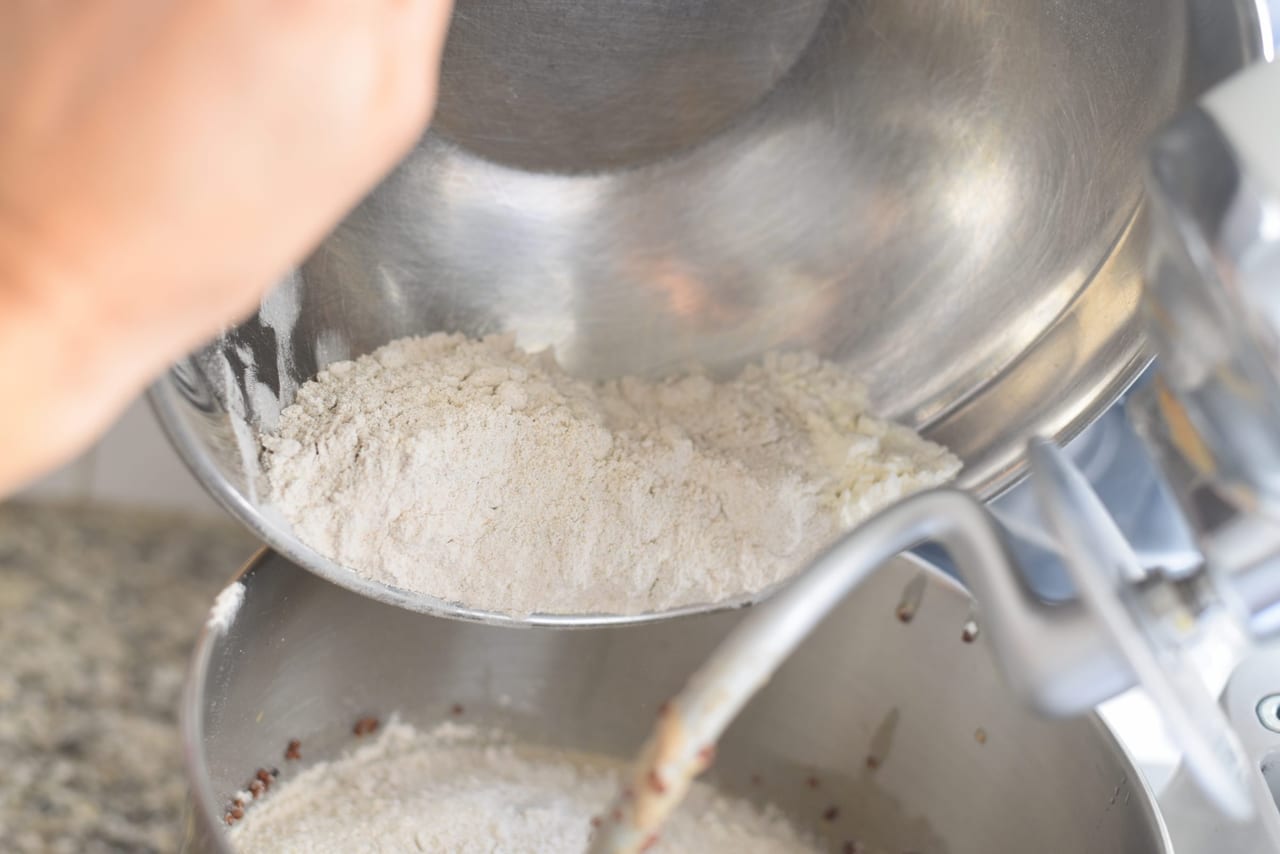
Set a small bowl, add 3 tablespoons from the total water, mix in the yeast, date honey and 2 tablespoons from the rye flour, cover and let rest for 10 minutes until bubbles emerge. In a bowl of a stand mixer equipped with the hook attachment, add the starter dough, rye flour, bread flour, spelt flour, all-purpose flour and the yeast bowl. Mix for 1 minute on low speed until all flours combine, increase speed to medium and pour the water in a steady drizzle, mix for 5 more minutes. add the quinoa and salt, mix for 3 more minutes. From time to time scrape the side of the bowl for all dough to get mixed.

- 4
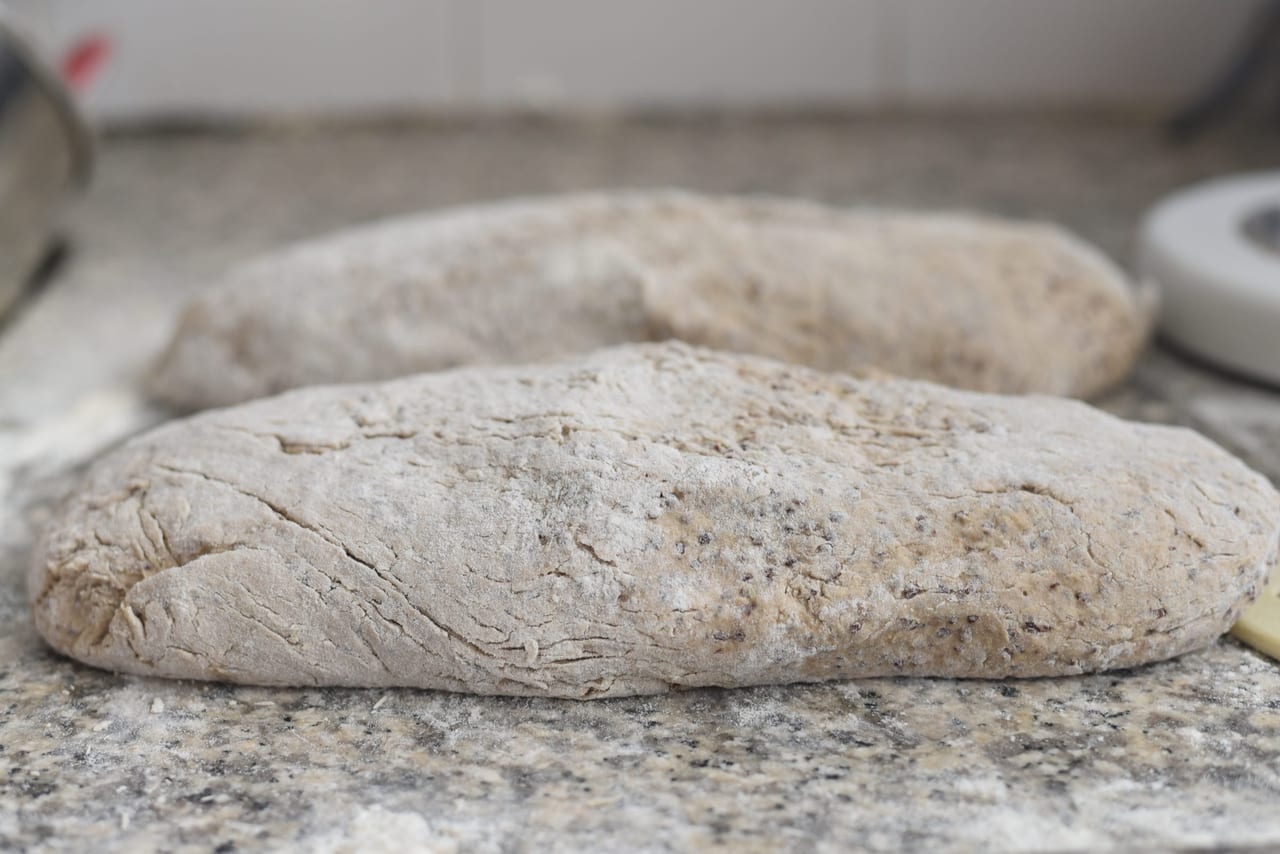
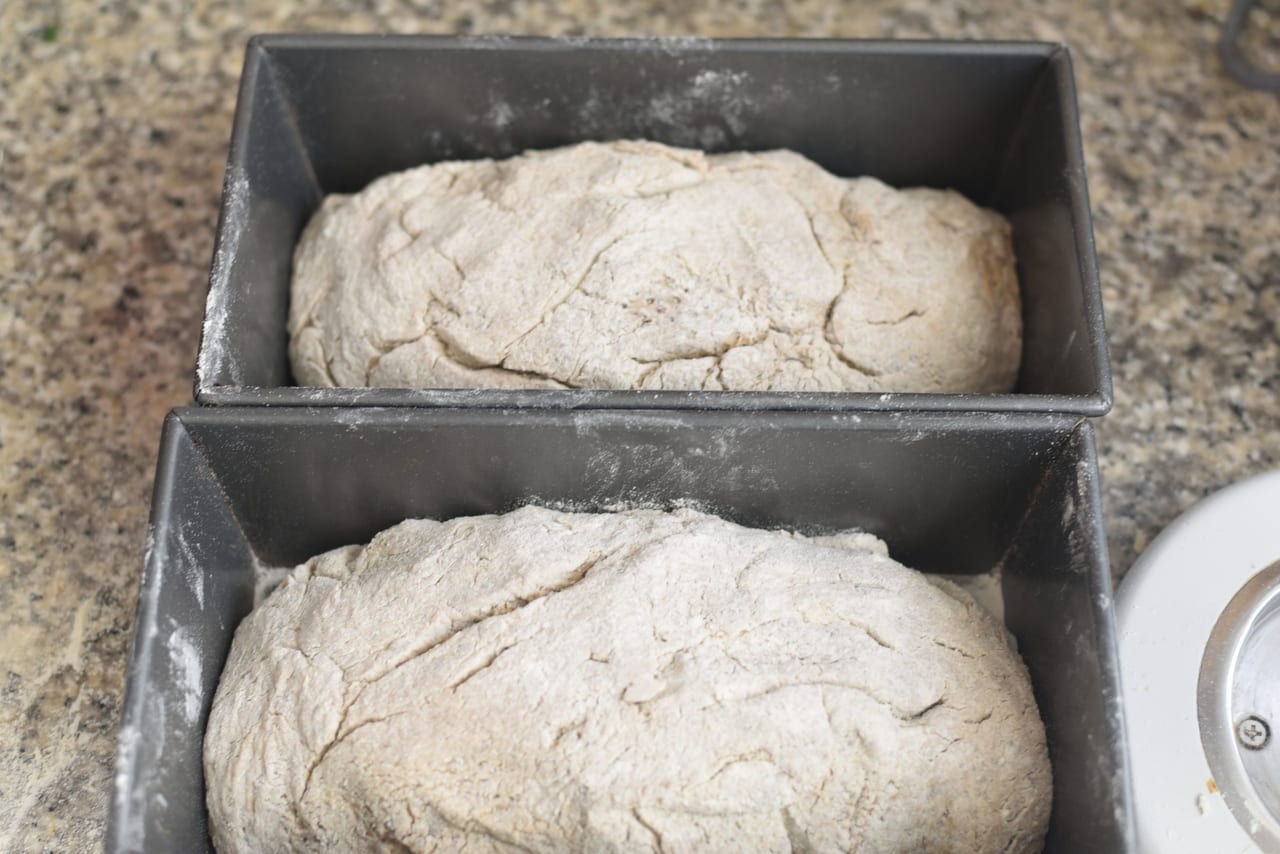
Proofing the dough· 60 minutes
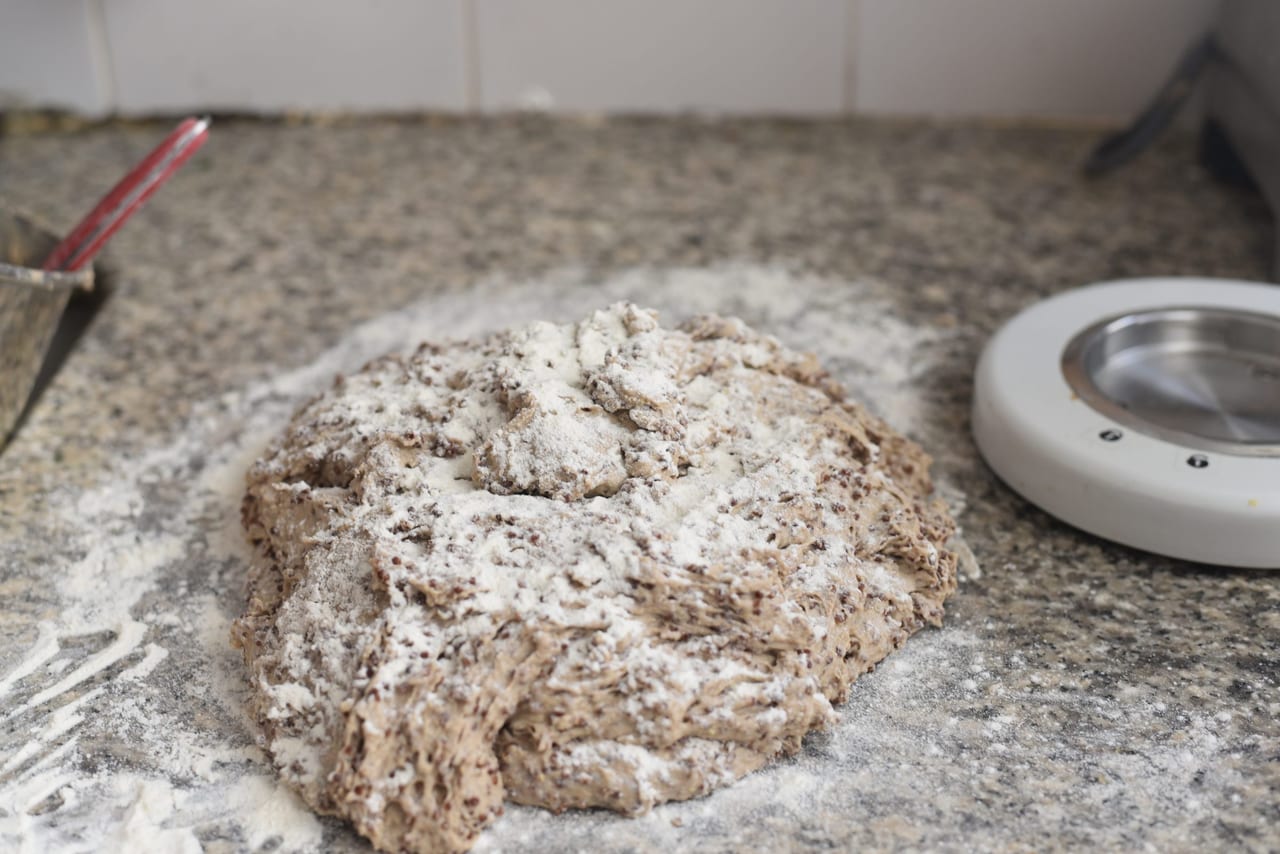
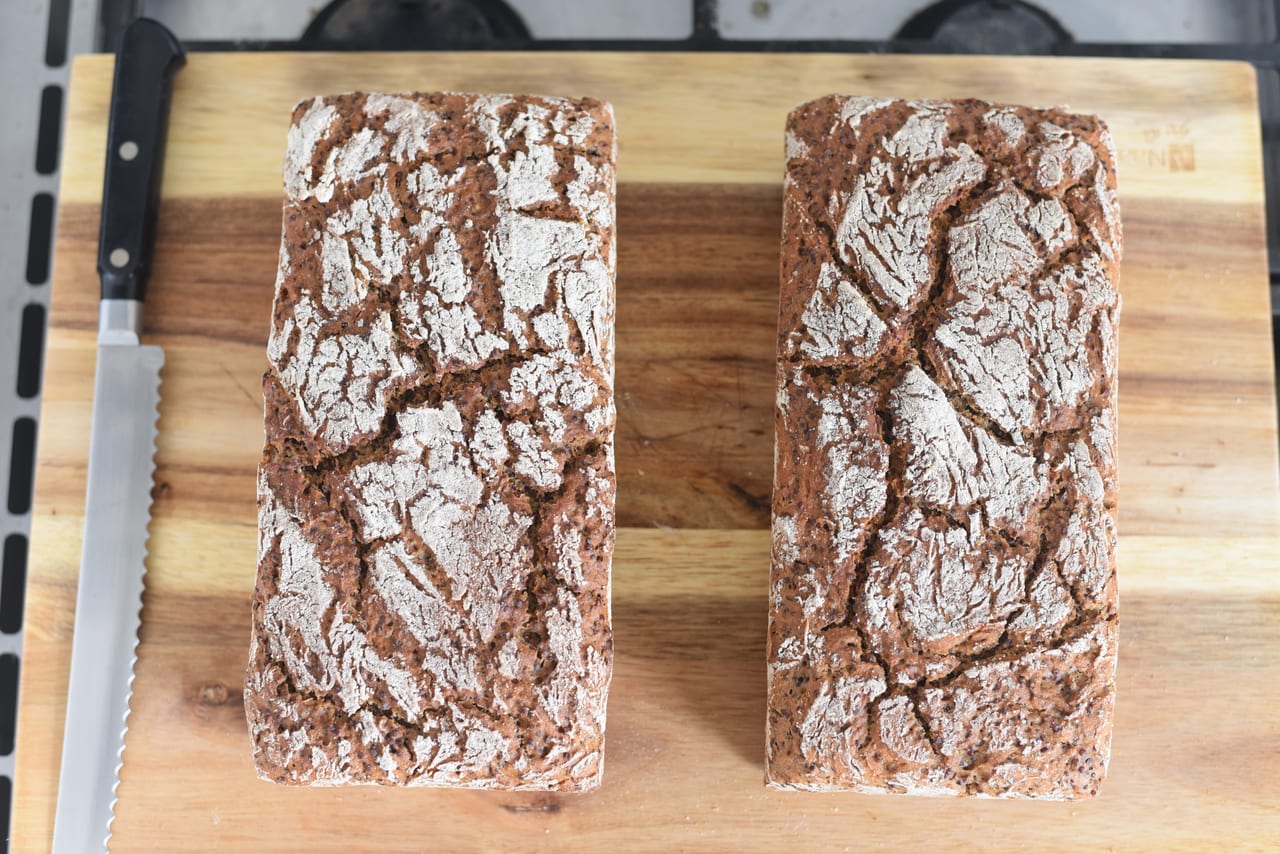
Remove the dough from the mixing bowl into a floured working surface. Knead the dough briefly for about a minute, add some more flour if it’s too sticky. Divide the dough into 2 equal parts and form an oval shape out of each part. Flour a 8½x 4½x 2½ inches (21 x 11 x 6 cm) baking pans and place the log shape dough in the pans. Cover and proof inside the pan for 1-1½ hours until the dough doubles itself.


- 5
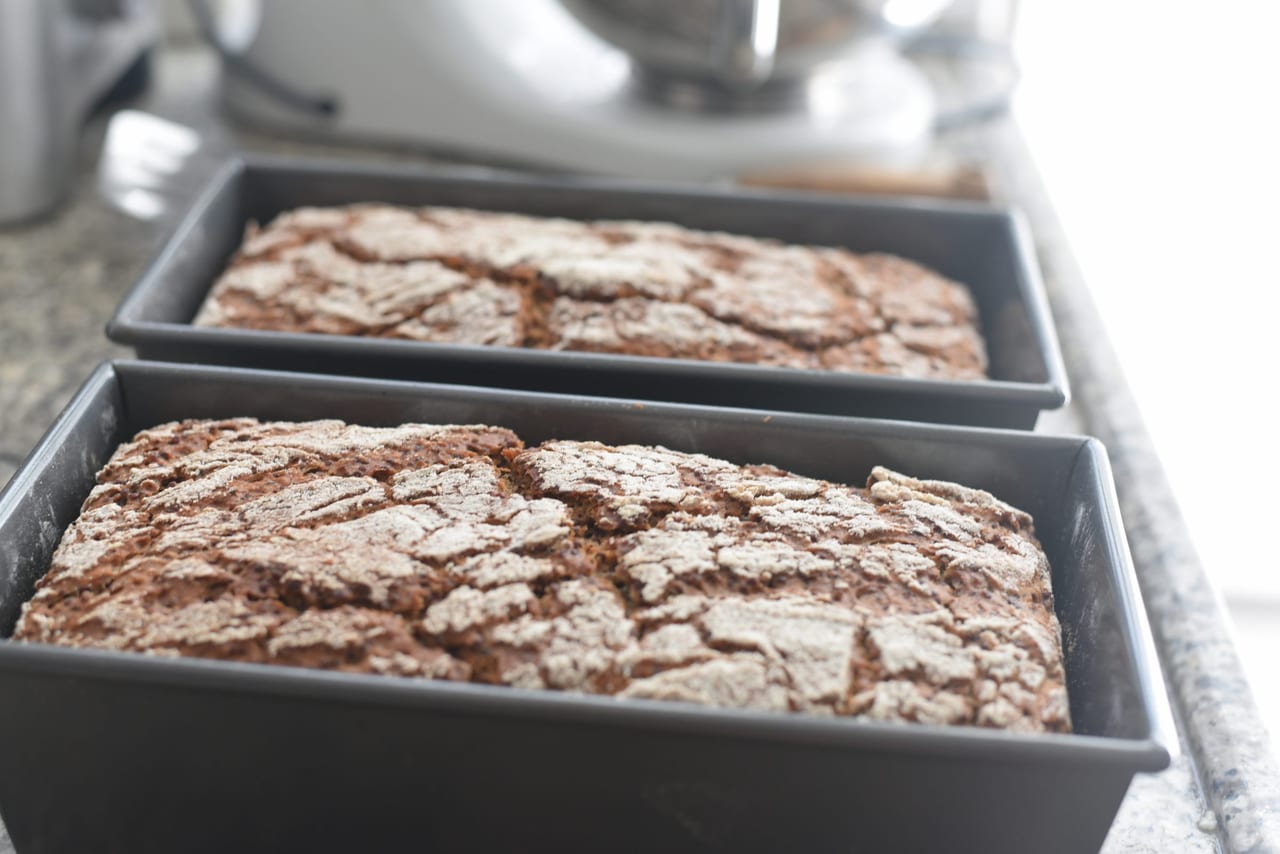
baking the bread loafs· 60 minutes
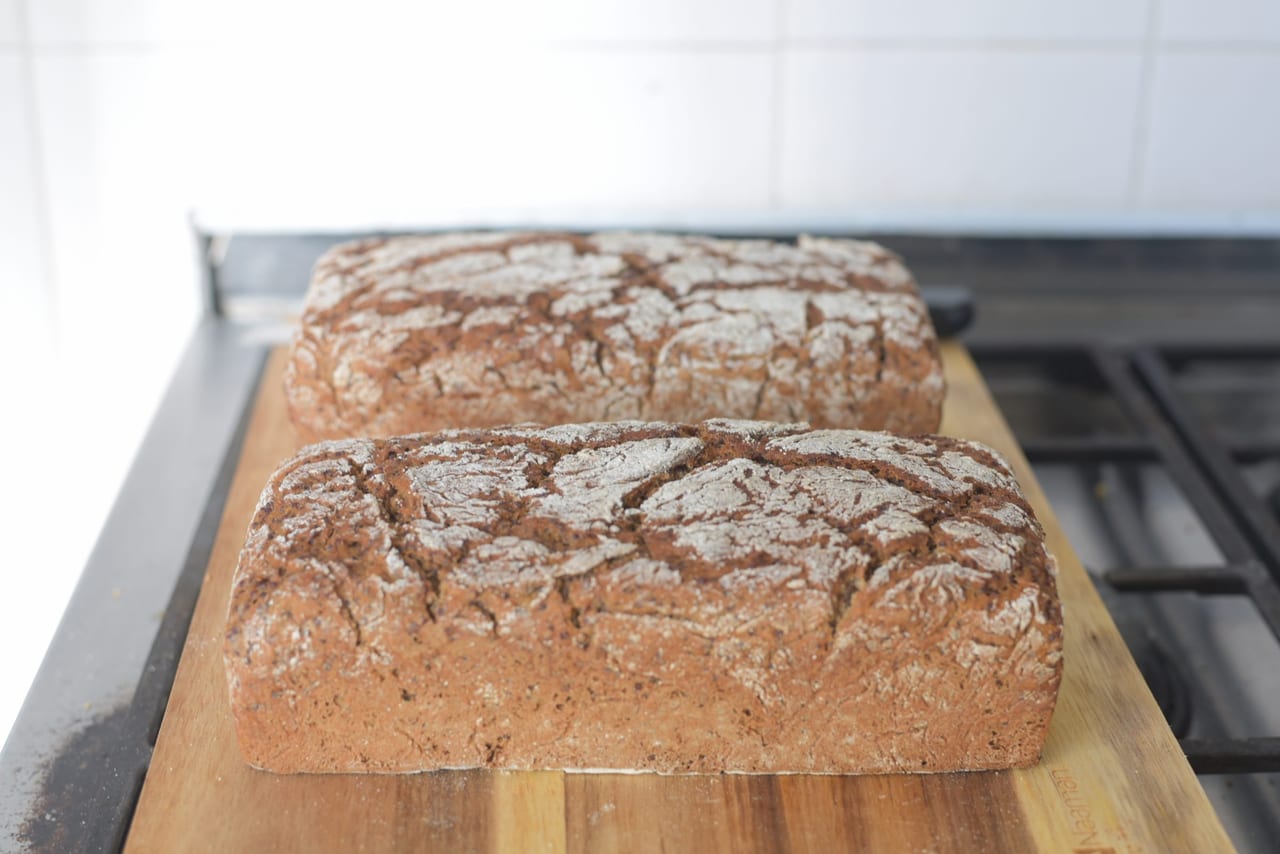
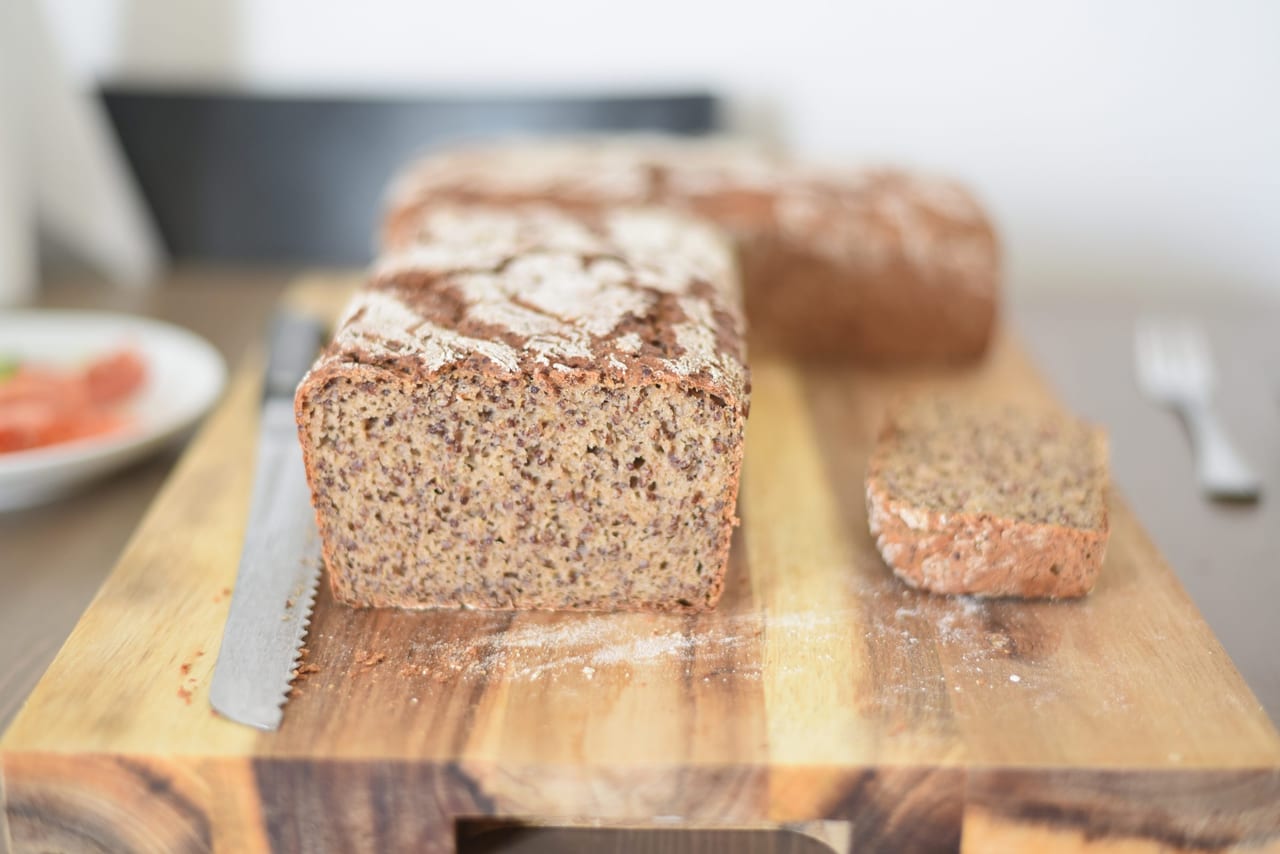
15 minutes before the end of the bread proofing time, heat the oven to 220°c/440°F. Insert the bread pans to the lower rack of the oven and immediately reduce heat to 180°c/350°F, I like to throw a few ice cubes inside the oven to create some steam (it's optional). Bake for 60 minutes and take the baking pans out of the oven when bread is golden brown and developed a nice crust. Let cool for 5 minutes inside the pans and release the bread from the baking pan into a board or rack, let cool for another 30 minutes (it will be hard...) before serving.


Jaron Kimhi
Jaron Kimhi — self-taught home cook from Tel Aviv, writing and cooking every recipe on this site himself. 20+ years of tinkering in the kitchen, leaning toward slow cooking, classic technique, and honest ingredients.
More recipes by Jaron →


